


 | Getting Started-JetNet |     |
The service component that you saved in Lesson 3 contains a service routine that populates the field on the client screen. This and other service routines are invoked on the server at runtime to handle service requests, which are typically issued by a client.
All services must be defined for your application in the JIF, an interface file that maps each service name to a service routine and container. The JIF also defines other attributes of a service, such as its input and output requirements.
There are a variety of other functions related to services that the JIF provides. For more information on the JIF, refer to page 24-1 in the online Using the Editors.
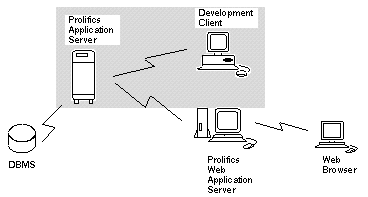
In this lesson you learn how to:
Because the JIF resides in a common library (and can even be remote), the JIF editor must be connected to the middleware. As before, your client setup determines whether you are prompted for a middleware connection on startup of the JIF editor, or you establish the connection through the editor's menu.
UNIX: Start the editor (prodev), and choose Tools JIF Editor.
Windows: From the Start Menu, choose Programs Panther Client
 Tutorial
 Tutorial JIF Editor.
The JIF editor opens and the View Services dialogue box appears.
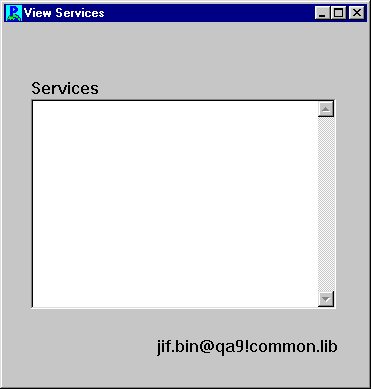
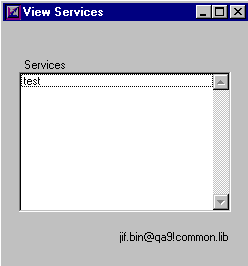
The View Services dialog box, which shows all defined services in the JIF, is currently empty. Now define a service that tests your client/server connection.
 Open
Open Middleware Session. Assuming that the .
ini files (Windows) or setup.sh (UNIX) are set correctly, the Connect dialog box opens.
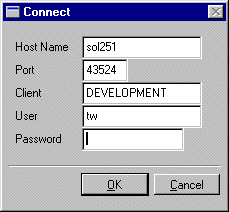
For Windows, the dialog box displays the host and port information provided in the initialization file. If the Host Name and Port number are blank, type in the settings which you recorded in Lesson 1.
Note: If the connection to the middleware is invalid or is not made, the View Services screen reappears, but you do not have access to the remote common.lib on the server. Also, updates to the JIF cannot take effect and new services are not advertised because the server is unaware of the changes.
 Create or
  .
.
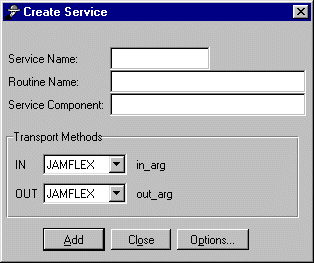
The Create Service dialog box opens.
TAB.
The JIF editor uses the service name test for the initial setting of the Routine Name and Service Component fields. Panther needs this information to look up the service routine and service component that are associated with this service. Because the names of this service and its service component and service routine are identical, leave these settings unchanged.
IN option to NONE. This means that the service expects no input data. (Leave the OUT option set to JAMFLEX.)
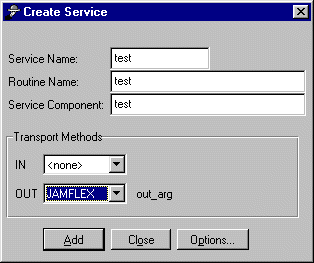
The service test is defined in the JIF. The fields clear so you can create another service.
The View Services dialog displays the service that you created:
 Save or
  .
.
Because you are connected to the middleware, servers are notified immediately when changes are saved to the JIF. Also, new services (depending on the advertise specification and if the server is configured to advertise all services) are advertised and immediately available to your application.
The service test is now available for testing.
 Exit.
Exit.
You are prompted to release the reservation on the JIF because it is stored in a remote library and shared with others.
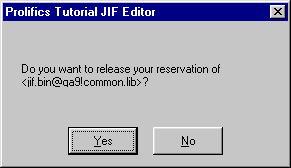
The JIF editor closes.
The client screen and service component are now saved to the appropriate libraries, and defined the corresponding service in the JIF. You can now test the client/server connection. This is done by using the push button on the client screen test to call the service routine in the corresponding service component. If the connection is set up correctly, the service returns the appropriate value to the client.
Windows: Start the Tutorial editor.
(UNIX clients should be displaying the editor after leaving the JIF editor.)
 Library TOC and open the screen test in
 client.lib. Test Mode.
The test client screen opens in Test mode.
This invokes the test service routine (which resides on the test service component). If a connection to the server exists, the service component returns the string "It worked!" to the client, which displays it in the text field.
 Editor.
You return to the editor workspace.
 Exit to end your session in the editor.
For the next lesson, leave the application server running so you can test the screen in a web browser.
In this lesson, you performed these tasks:
You learned:
What did you learn?


