


 | Getting Started-JetNet |     |
In Lessons 1 through 4 you set up the Panther application server, started the client, saved a service component and client screen to the correct libraries, updated the JIF, and tested the client screen. At the end of Lesson 4, a client made service requests to a server. In this lesson, you will set up a Panther web application and test the same client screen from a web browser.
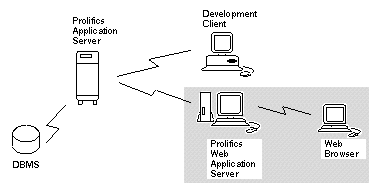
A Panther web application server is installed on your HTTP server and can work with the following web architectures:
When a browser request comes in for a Panther screen, the HTTP server passes the screen name to Panther. Panther opens the screen, performs any processing on the screen including service calls, generates the HTML to display the screen, at which point the HTTP server transmits the HTML back to the browser that requested it. For more information on web applications, refer to the Web Developer's Guide.
This lesson shows how to set up a Panther web application and is independent of all subsequent lessons in this tutorial.
In this lesson you learn how to:
More About Web Application Server Processes
The Web Application Server consists of three executable processes for each application: requester, dispatcher, and jserver.
Before beginning this lesson, you need to know the following:
_____________________________________________
/usr/prolifics.
Common names for the program directory include cgi-bin and scripts.
_____________________________________________
http://hostMachineName/ProgramDirectory/websetup
_____________________________________________
Each Panther web application must have an initialization file, which contains con figuration settings for the application. The Panther Web Setup Manager helps you create a new initialization file (or update an existing one).
UNIX HTTP server:
http://hostMachineName/ProgramDirectory/websetup
Windows HTTP server:
http://hostMachineName/ProgramDirectory/websetup.exe
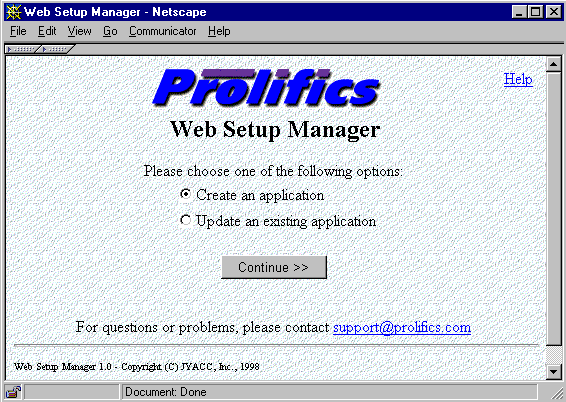
Create an application radio button is selected.You assign each web application a unique name which is used to name the application's requester program and the application's initialization (.ini) file.
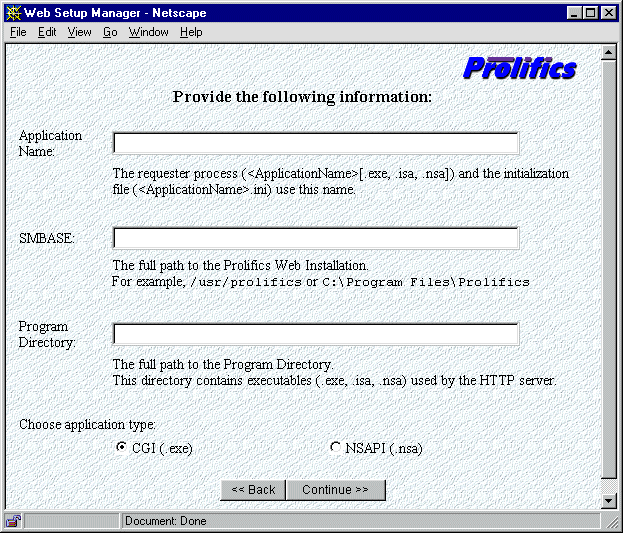
tut_webapp.SMBASE, type the full path pointing to the Panther web application server installation (which you recorded on page 5-2).Note: This should be a directory path, not a browser URL path.
(There are three types of requester programs. Depending on your platform, your options can include CGI, NSAPI, and ISAPI.)
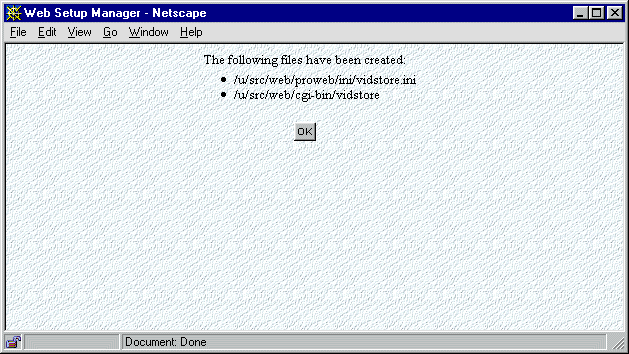
The program will now create both an .ini file and an executable specific to your application (for example, tut_webapp.ini and the executable tut_webapp). The next screen will tell you that both files have been created; the following steps will be to update the initialization file with the correct settings.
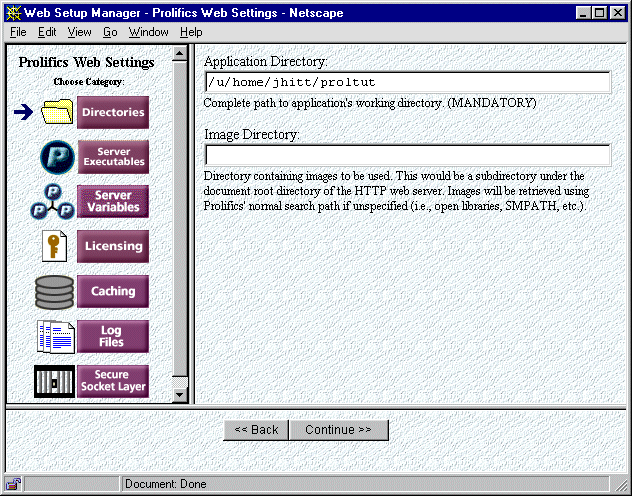
In the left-hand frame, you will see icons for the initialization settings specific to the Panther web application server. When you click on each setting, there will be an accompanying explanation of how to set that variable. Most settings can be left at the default for now; however, the following steps lead you through settings which you need to edit or double-check:
proltut directory in Lesson 1.
util directory of the web application server installation.
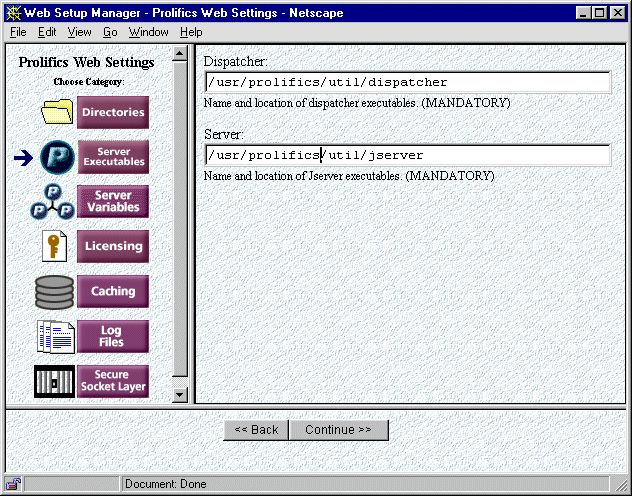
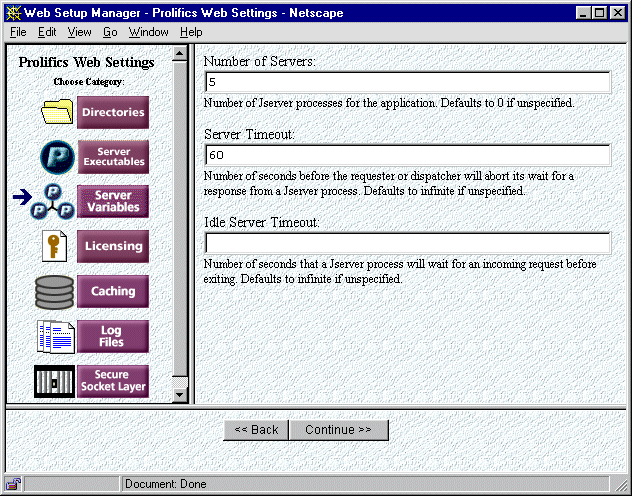
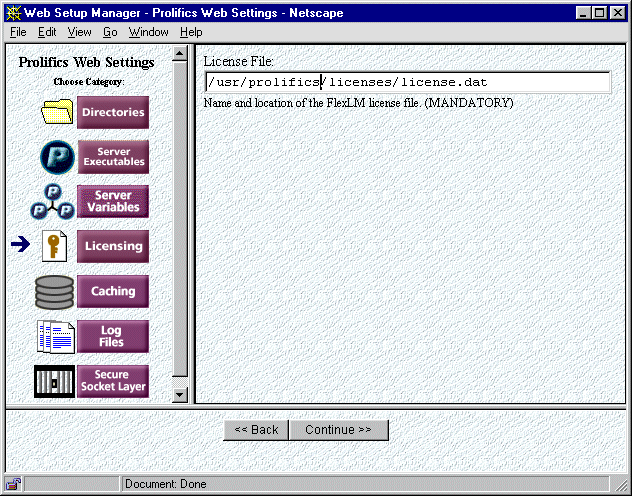
In the next section, you specify the environment settings needed by the web application server. You will see a new set of icons in the left-hand frame. Step through each category, editing or double-checking settings as necessary.
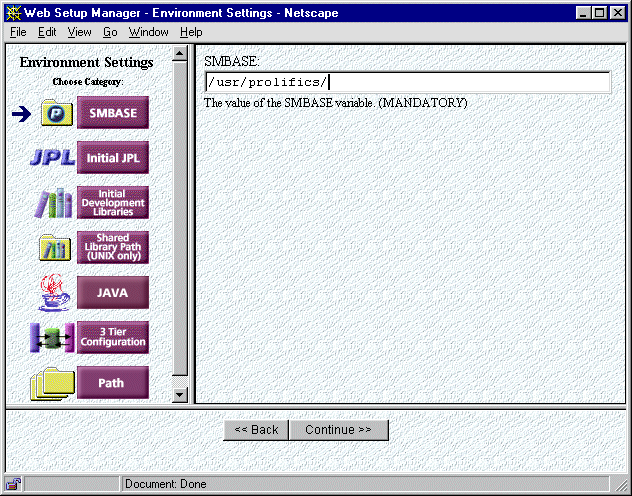
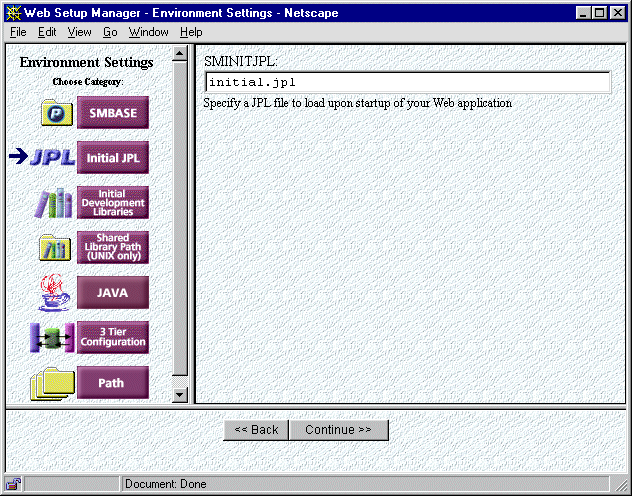
initial.jpl.
This is the name of the JPL file that will be run when the web application server starts. (Later in this lesson you will add this JPL file to the client library.)
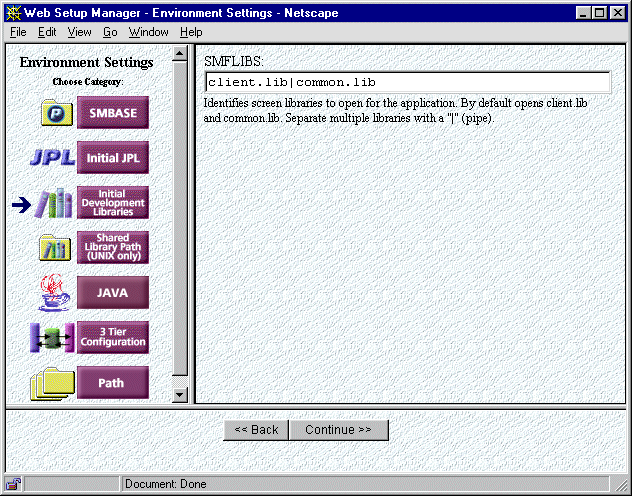
client.lib|com mon.lib.
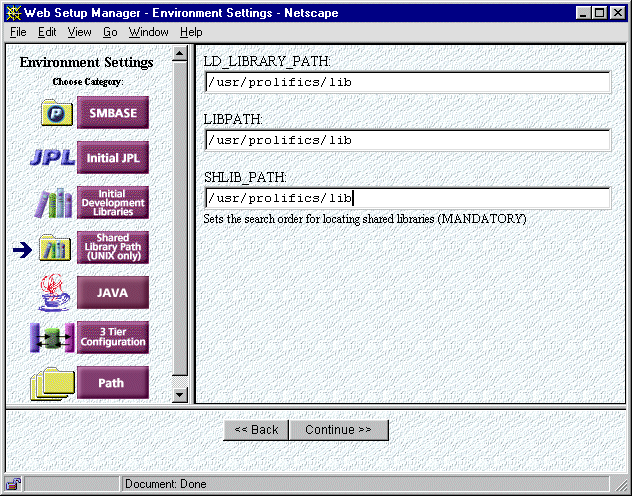
Depending on whether you are running the Panther web application server on a separate machine from your Panther application server, you will need to set this parameter in one of two ways, as outlined below.
SMRBCONFIG), type the directory path name where you created your broker.bin file in Lesson 2. Leave the lines for SMRBHOST and SMRBPORT blank.
SMRBCONFIG) blank. Enter the information for SMRBHOST (refer to Step 18 on page 1-9 in Lesson 1 for UNIX and to Step 11 on page 1-21 for Windows) and for SMRBPORT (refer to Step 22 on page 1-10 in Lesson 1 for UNIX and to Step 17 on page 1-23 for Windows).
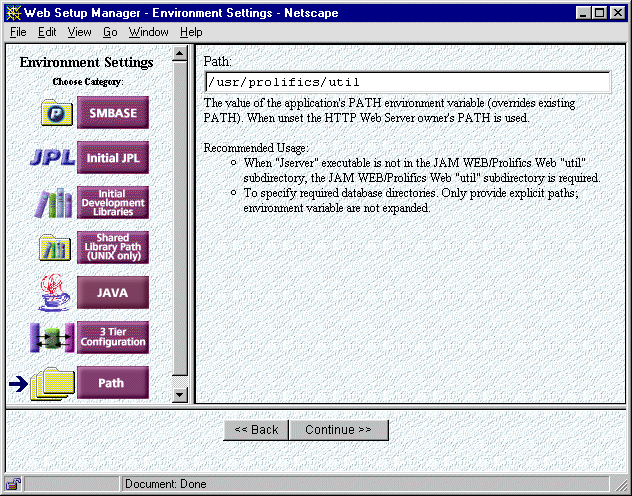
util directory of the web application server installation. If the jserver executable is not in the Panther webutil directory, you must set the correct path to the jserver directory here.The next screen allows you to enter Additional Environment Variables for such applications as databases. If you were setting variables for an Oracle database, for instance, type the variable under "Settings" (e.g., ORACLE_HOME) and the path name under "Value" (e.g., /usr/oracle). You will also be setting access to the JIF file.
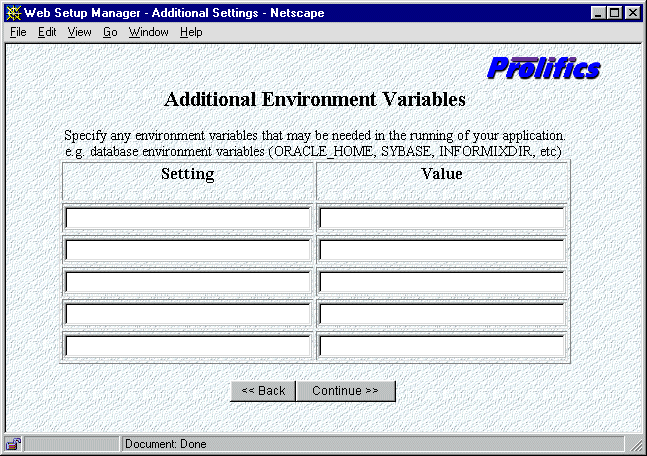
SMTPJIF, the Panther variable that identifies the JIF file.
Note: If the EnableWebId option displays, note that it will not be used in the tutorial.
jif.bin.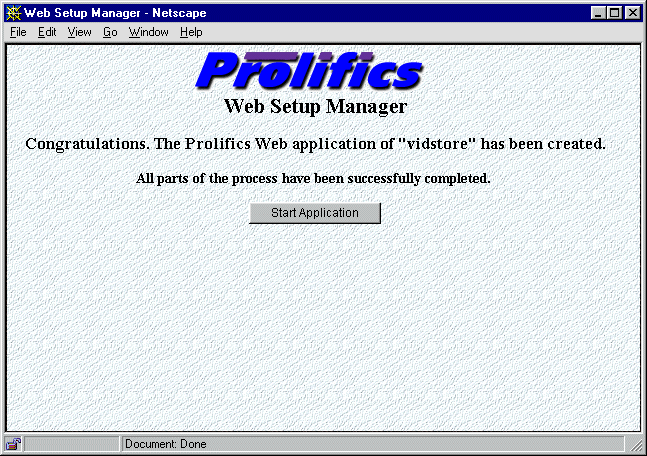
When a Panther web application server starts up, it looks for a JPL web_startup procedure to handle any necessary startup processing, open and close connections to the middleware API (and therefore to the database), and create global variables. Similarly, when the server is shut down, it looks for the web_shutdown routine-accessed by all users of the web application-to perform processing such as clean up. Both procedures are in the JPL module initial.jpl which is in the tutorial library. By copying initial.jpl to your client library and setting SMINITJPL in proweb.ini, these routines automatically run when the web application server is initialized.
More About JPL
JPL is a powerful scripting language with a C-like syntax. You can write and edit JPL modules directly in the editor environment, using the JPL editor or your preferred test editor. You can also write JPL procedures directly to a library and call these procedures from objects in your screens.
You'll practice writing and executing JPL in Lesson 13 of this tutorial. For more information on JPL commands and syntax, refer to the online Programming Guide.
 Open
Open JPL.
JPL.
The Open JPL Module dialog opens.
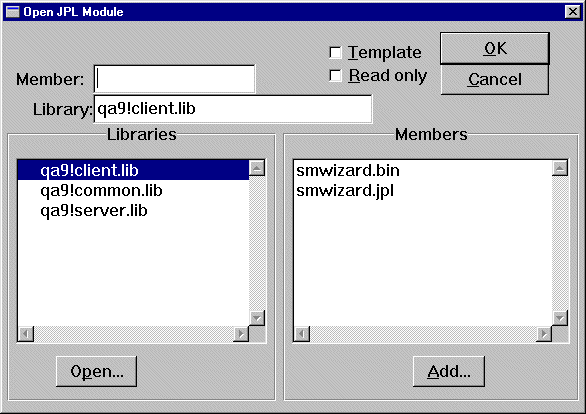
tutorial.lib from the list of open libraries, and double-click on initial.jpl in the Members list to open it.
The initial.jpl file opens in the JPL Program Text dialog box.
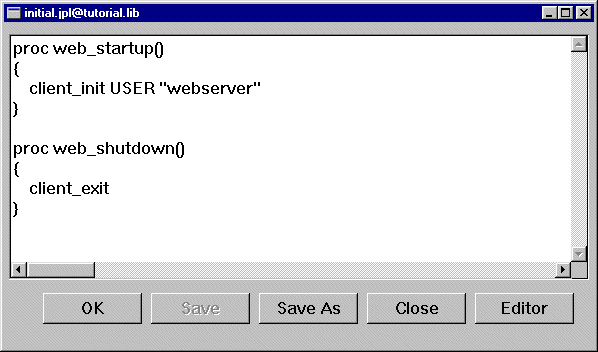
initial.jpl in the Member box.
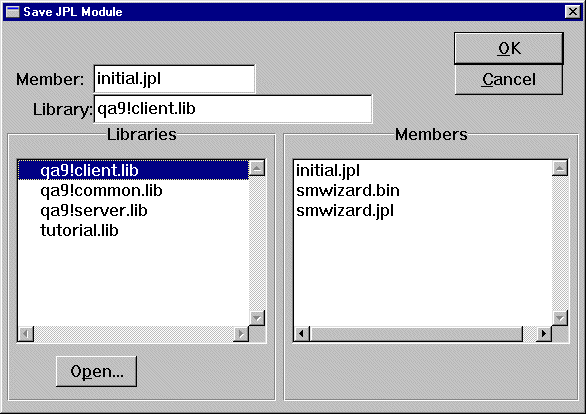
The initial.jpl file is saved to client.lib.
 Exit to end your editor session.
The Panther web application server must be able to access some files in the application directory on UNIX. Because the user account for the HTTP server is different from your user account, the web application server is normally not allowed to write to your directory.
proltut directory.
If error.log does not exist, create an error log file and set its permissions so that the web application server has read and write access to the file:touch error.log
chmod 666 error.log
broker.bin:
chmod 666 broker.binNow you can start the Panther web application server and test the client/server connection by trying to invoke the service routine from your client screen with a web browser.
WebInstallDir/util/monitor -stop webAppname
WebInstallDir/util/monitor -start webAppname
Note: On Windows, if your web application has been installed as a service, then you use the following command to start the web application:
WebInstallDir/util/net start webAppname
http://hostName/ProgramDirectory/webAppname/test
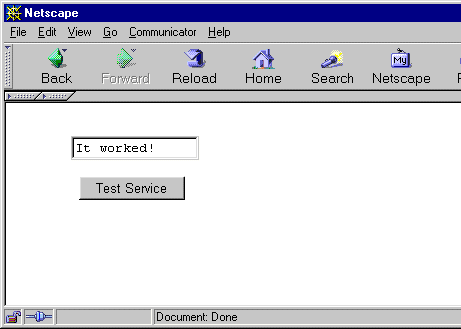
The client screen appears.
The phrase "It worked!" is displayed in the text box.
If you have a problem either starting the web application server or seeing the message returned from the server, refer to Appendix B on page B-1.
If you make any changes to the web initialization (webAppname.ini) file, or if you see any error messages indicating that you failed to connect to the server, you must stop and restart your web application server to have the changes take effect. Shut down the server by going to a UNIX window and typing at a command prompt:
$SMBASE/util/monitor -stop webAppname
Edit the initialization file the same way you created it, by typing in the browser:
http://hostMachineName/ProgramDirectory/websetup
and choosing to update the application.
You can then restart the server by repeating the procedure outlined in Step 47 above.
After you successfully start the web application server, you can shut it down. The lessons that immediately follow do not require its usage.
$SMBASE/util/monitor -stop webAppname
In this lesson, you performed these tasks:
You learned:
What did you learn?


