


 | Getting Started-JetNet |     |
The server is configured and the development team is ready to start. Now you need to set up the clients.
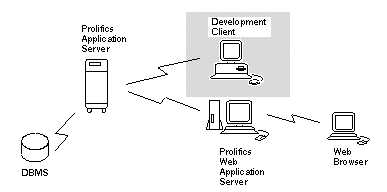
In this lesson you learn how to:
For Windows, instructions are given for editing the necessary files for workstation clients to automatically connect to the Panther servers and access shared libraries.
UNIX Client |  |
The local UNIX environment must know where and what to access on startup of the Panther client, such as which libraries to open and the location of the server configuration file.
homeDir/proltut), open up the setup.sh file using an editor. Make the following changes:
. setup.sh
prodev.
The editor workspace opens.
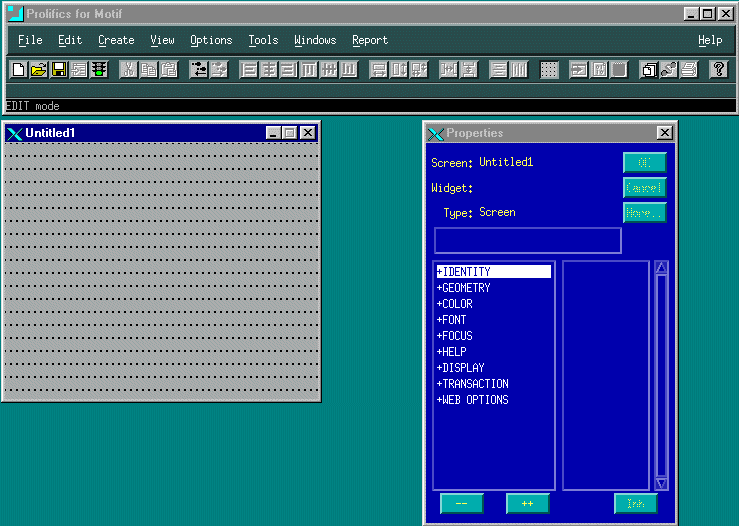
A Panther client connects to servers through the middleware, which enables client connections to all active servers, including the file access server for access to re mote libraries and repositories, and the standard server for database interaction. Since a UNIX local client opens local libraries, you can request a middleware connection from within the editor.
 Open
Open Middleware Session.
The Connect dialog box opens. The configuration file is provided if the entries in your setup file were properly set. If your user name is set in your environment, it will be provided as well.
More About the Middleware
In a three-tier architecture, communication between clients and servers, across a network is managed by middleware software. Panther facilitates all interaction between these agents, passing information from client to middleware, middleware to server, and back again.
A tutorial library is provided with the Panther installation and was copied to the tutorial's application directory. This library contains an example of a client screen and its corresponding service component. First, open the library to access its members.
More About Client Screens and Service Components
Client screens and service components each serve a specific purpose in Panther applications. They look very similar, but client screens reside on the client and represent the user interface, while service components reside on the server and are invisible to the user at runtime. A service component, which is a graphical representation of a service, provides a physical means of sending, receiving, and processing data between a client screen and a service.
 Library TOC.
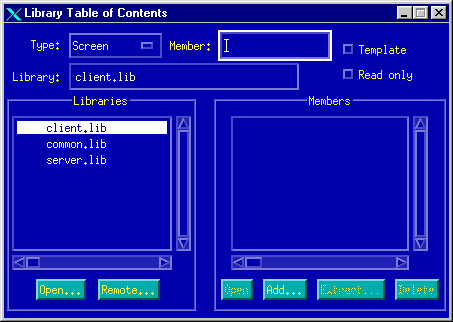
The Library Table of Contents opens.
The Open Library dialog box opens:
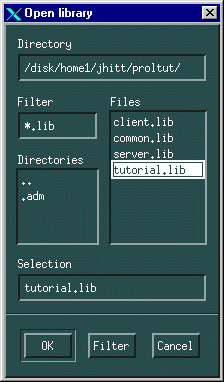
/prolifics/samples/tutorial directory, select tutorial.lib and choose OK.
The Library Table of Contents dialog reappears, and tutorial.lib is added to the list of open libraries.
tutorial.lib, and double-click on lesson3.clt in the Members list to open it.
The client screen lesson3.clt opens in the editor workspace.
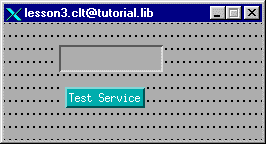
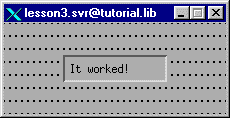
lesson3.svr in the Members list to open it.
The service component lesson3.svr opens in the editor workspace.
Now save both the client screen and its corresponding service component to the appropriate remote libraries, under the same name. You must save the service component to the server library to make it available to the server, and to test the connection between client and server later on.
 Save As
 Library Member.
The service component is now available to the server and visible to other developers.
 Close
Close test.
test. Save as
 Library Member.
 Close
Close test.
test.If you take a break, you can close the editor by choosing File Exit and shut down the application in JetMan by choosing Edit
 Deactivate (once the application is selected).
To skip to the Lesson 3 summary, refer to page 3-14.
Windows Client |  |
In order to start a Panther client running on Windows, you must provide setup information in the Panther initialization files, which are included with the client installation. The Panther client must know the name and address of the application server so it can access remote libraries and repositories, and automatically open application libraries on startup.
Two tutorial-specific initialization files are in the Windows directory (typically C:\WINDOWS):
prtut.ini for the Panther client process and editor
In both initialization files, variables need to be set as follows.
prtut.ini and jifedtut.ini files, verify that SMBASE is set to the path name of your Panther installation on Windows. For example:
SMBASE=C:\Prolifics\Panther
SMRBHOST=host
SMRBPORT=hostAddress
The variable SMFLIBS identifies the libraries to open when you start Panther components. Because you want only remote libraries to open for the tutorial, all SMFLIBS settings should include your server's host name:
prtut.ini, set SMFLIBS as follows:
SMFLIBS=host!client.lib;host!common.lib;host!server.lib
jifedtut.ini, set SMFLIBS as follows:
SMFLIBS=host!common.lib
A Panther client connects to servers through the middleware, which enables client connections to all active servers, including the file access server for access to remote libraries and repositories, and the standard server for database interaction. During development, middleware connections can be established in one of two ways, depending on the client setup:
SMFLIBS environment variable is set to open remote libraries (as in step 4), a dialog automatically displays when you invoke one of the Panther editors. This dialog asks whether to connect to the middleware.
 Panther Client
 Tutorial (folder)
 Tutorial.
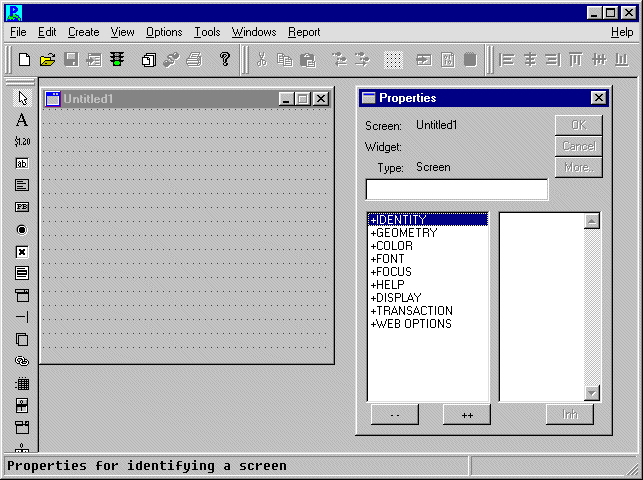
 Open
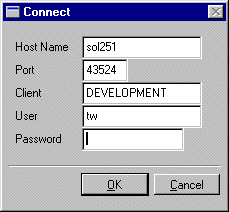
Open Middleware Session. Assuming that the .ini settings in Step 3 are set correctly, the Connect dialog box opens. If remote libraries are specified in the .
ini file, the Connect dialog opens automatically.
More About the Middleware
In a three-tier architecture, communication between clients and servers across a network is managed by middleware software. Panther facilitates all interaction between these agents, passing information from client to middleware, middleware to server, and back again.
If the host and port settings are correct–that is, they match the entries in the configuration file broker.bin–and the server is active, then you are connected to the middleware. The editor workspace opens.
A tutorial library is provided with the Panther installation and is stored locally on your workstation or PC. This library contains an example of a client screen and its corresponding service component. First, open the library to access its members.
More About Client Screens and Service Components
Client screens and service components each serve a specific purpose in Panther applications. They look very similar, but client screens reside on the client and represent the user interface, while service components reside on the server and are invisible to the user at runtime. A service component, which is a graphical representation of a service, provides a physical means of sending, receiving, and processing data between a client screen and a service.
 Library TOC.
The Library Table of Contents opens.
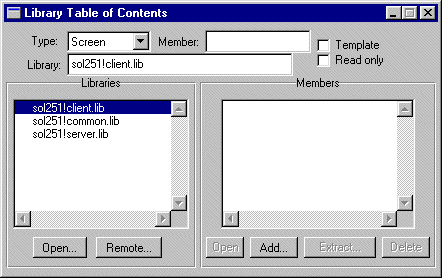
The Open Library dialog box opens.
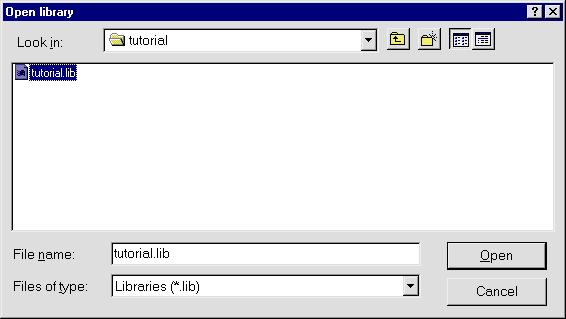
pantherInstallDir\Samples\Tutorial), select tutorial.lib and choose Open.
The Library Table of Contents dialog reappears, and tutorial.lib is added to the list of open libraries.
tutorial.lib, and double-click on lesson3.clt in the Members list to open it.
The client screen lesson3.clt opens in the editor workspace.
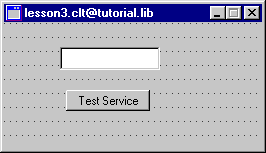
lesson3.svr in the Members list to open it.
The service component lesson3.svr opens in the editor workspace.

Now save both the client screen and its corresponding service component to the appropriate remote libraries, under the same name. You must save the service component to the server library to make it available to the server, and to test the connection between client and server later on.
 Save As
 Library Member.
The service component is now available to the server and visible to other developers.
 Close
Close test.
test. Save As
 Library Member.
 Close
Close test.
test.If you take a break, you can close the editor by choosing File Exit and shut down the application in JetMan by choosing Edit
 Deactivate (once the application is selected).
In this lesson, you performed these tasks:
prtut.ini and jifedtut.ini (for the JIF editor).
On UNIX, you applied the settings in the setup.sh file.
You learned:
What did you learn?


