


 | Getting Started-JetNet |     |
In Lesson 7, you created a master-detail screen that joined two tables: distributors and orders. In this lesson, you create another master-detail screen that joins the orders table as the primary master table to the order_items table. In addition to columns from the order_items table, the screen's detail section also includes data from the titles table. Thus, it can display the titles of the videos.
Because the screen's detail section contains multiple tables, the screen wizard:
In this lesson you learn how to:
When you use the screen wizard, the first table you select for a section—master, detail, or subdetail—is considered the first (primary) table view for that section. For the screen you create here, select orders as the first master table and join it to order_items as the first detail table
The New Screen Tool dialog opens.
The Format Selection dialog opens.
 .
.
This specifies to include all columns in the orders table on the completed screen.
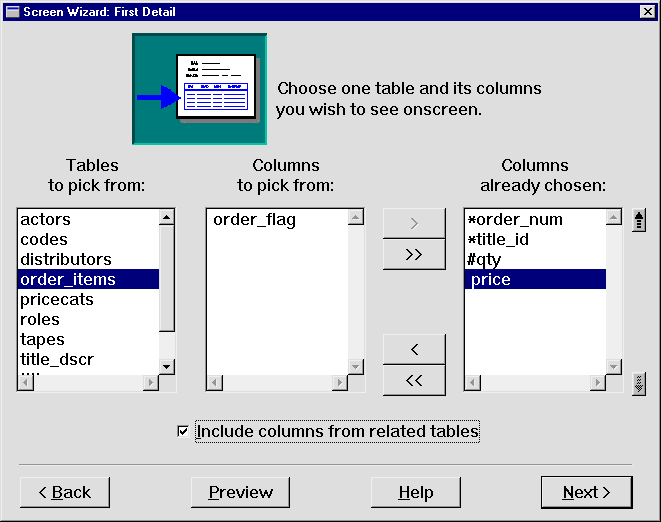
order_items from the list of tables.The selected column is added to the list of those already chosen.
The screen wizard lets you include information from other database tables in the same section, as long as the corresponding repository screens specify links to the section's first table. By selecting the titles tables in addition to the order_items table, the screen's detail section can display the name, number of available copies, and standard unit price of each video, along with the price and quantity data from order_items. The screen wizard includes links that define the relationship between order_items and titles.
The Additional Detail dialog opens and shows which tables can be joined to the order_items table.
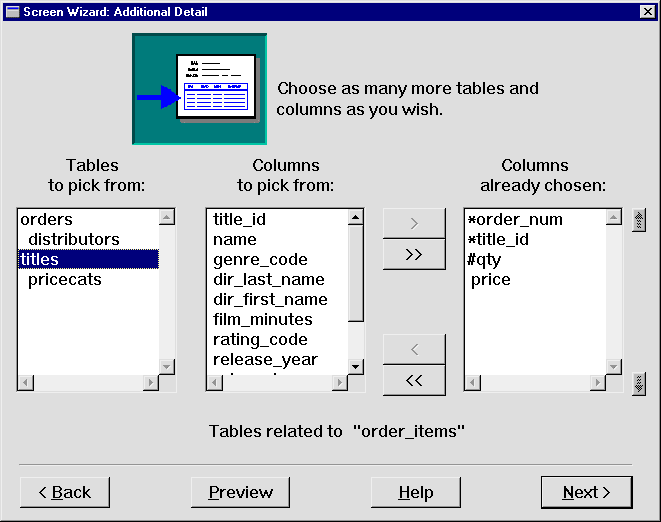
The list of columns belonging to the titles table displays.
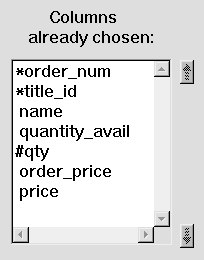
order_price, and quantity_avail. .
.
The Layout Selection dialog opens.
The Application Model dialog opens.
When you include columns from additional tables, the screen wizard lets you decide whether to generate selection screens (and selection service components). The usefulness of selection screens depends on the client screen's function. For example, a data entry screen might make good use of a selection screen, while a display-only client screen probably would not.
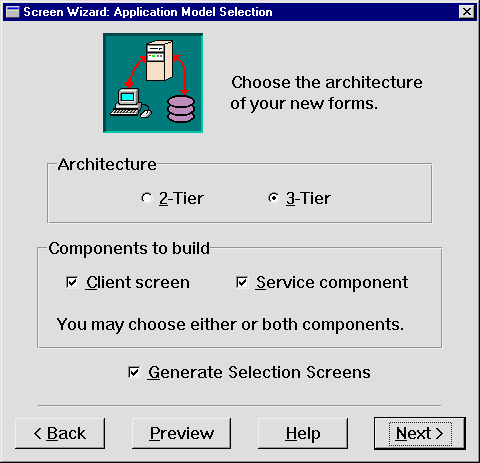
More About Selection Screens
When the Generate Selection Screens check box is selected, the screen wizard automatically creates a selection screen for every additional table that you include on your client screen. At the same time, the screen wizard also creates selection screen service components (for three-tier models). As a result, additional services are required to carry out the appropriate requests.
Selection screens, sometimes called pick lists, are useful when a user is adding a new record to the database. The selection screen displays a list of acceptable values for a field when the user requests help.
The Service Definition dialog opens.
orditm and press TAB. The Style and Finish dialog opens.
A preview of the client screen displays:
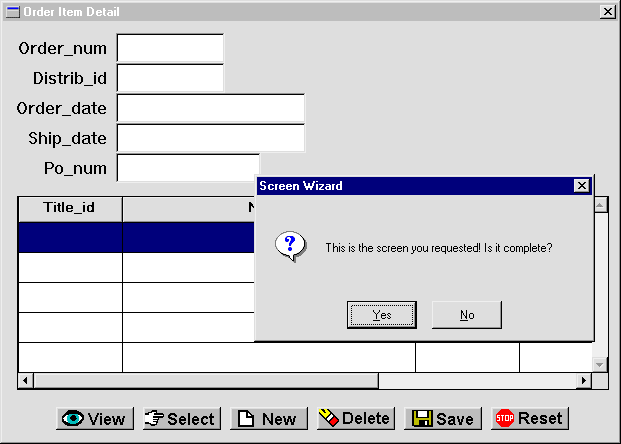
When the wizard finishes building the screens (notice the status bar), the results include four screens:
Save the client screens to client.lib and the server screens to server.lib.
The Save Screen dialog opens.
orditm.scr in remote library client.lib.server.lib. You can close the service component after saving it.titles.cit to client.lib and titles.sit to server.lib. You can close these screens also after saving them.In addition to defining services to handle client requests made on the orditm.scr screen, you need to define the service that validates the data returned from the titles table, and a service that populates the titles.cit selection screen. De fine all the services in the JIF.
common.lib, exit from the JIF editor, and release the reservation on the JIF.
The application knows (as long as you are connected to the middleware) about these services as soon as you save the JIF and, therefore, you can test the client screen and the selection screen functionality immediately.
Now test the screens.
orditm.scr. Test Mode or
  .
.
The Order Item Detail screen opens.
 .
.
The first record in the orders table displays. Several order_item records are associated with this order. They are displayed in the grid.
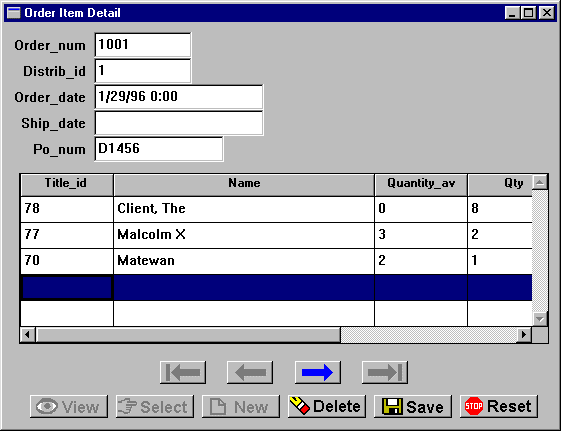
Title_id field of the first empty row in the grid.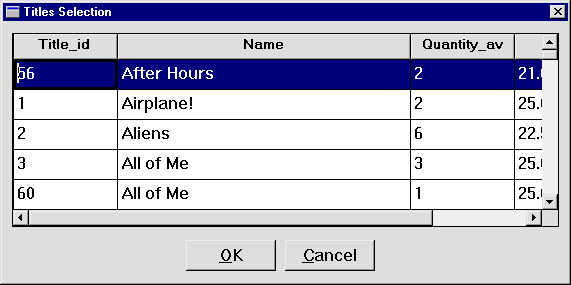
The Titles Selection screen opens and displays all video records in the titles database table. The service titles_c, which is defined as the Select Service property of the table view on the selection screen, is called and populates the screen.
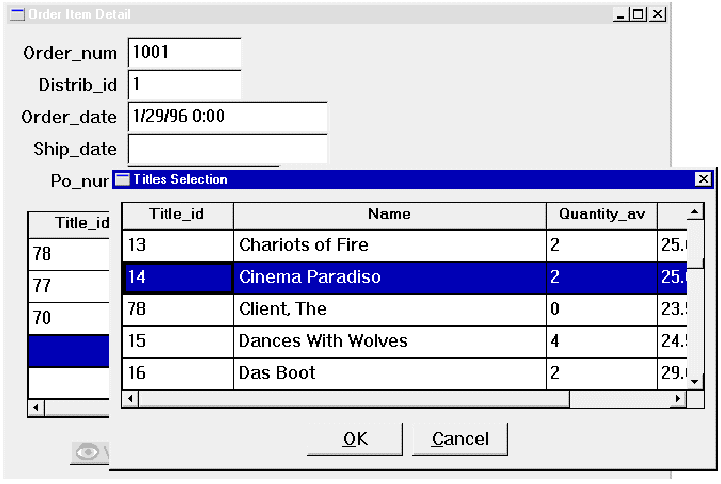
The selection screen closes and the record you selected appears in the grid on the Order Item Detail screen. The cursor advances to the next data entry field in the grid (qty).
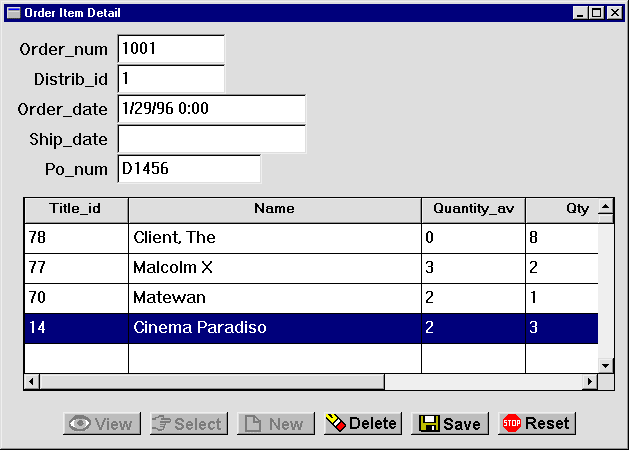
Add another item to this order, but this time, enter the title identification number. Panther uses the validation service (titles_l1) to ensure that the entry is valid.
Title_id column. Press Enter or TAB.
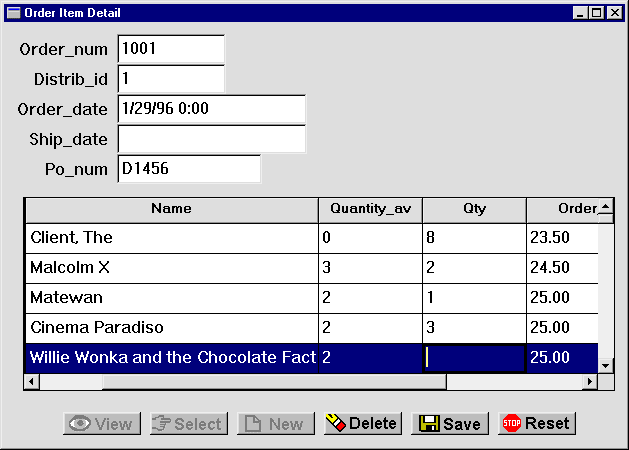
Willie Wonka and the Chocolate Factory is the name of the video associated with the specified ID number.
 .
.
This action saves the new items to the selected distributor's order.
You created an order entry screen that provides an easy way to add items to an order. You did this by performing these tasks:
You learned:
What did you learn?


