


 | Getting Started-JetNet |     |
The screen wizard provides an easy way to create transactional database application components. Use the screen wizard to build:
In this lesson, you create a master-detail client screen and its corresponding service component. The client screen will allow a user to view, edit and add information for video distributors and their video orders. The master section of the screen displays the address information associated with a single distributor, while the detail section displays information about that distributor's orders.
The screen wizard uses information you provide to also build the service component that will carry out the requests—view, update, and add.
The screen wizard creates both screens and service components by using objects and database columns from the open repository (the remote repository, data.dic for the tutorial). After the components are created, you will save them to their appropriate libraries, thereby ensuring that service requests made by the client can be carried out by the server.
In this lesson you learn how to:
To use the screen wizard, a repository that contains imported database objects must be open. The repository that you created in Lesson 6 opens automatically when you invoke the editor if the SMDICNAME variable is set in the development environment (in Windows, prtut.ini) or if the repository is located in the application directory, and you can skip to step 3; otherwise, you must open the repository manually (step 2).
Notes: (UNIX clients only) Because the tutorial is in the application directory, Panther opens the local repository by default; you do not have to set the variable.
SMDICNAME is not set in the initialization file prtut.ini, choose File Open
Open Remote Repository and select data.dic from the Open Repository dialog.
Instead of creating a screen from scratch, use the screen wizard to build your screen.
More About the Screen Wizard
The screen wizard guides you step-by-step in creating database screens that automatically incorporate tables and columns imported to the repository from your database.
The screen wizard prompts you for basic design information and uses that information to build fully functional screens which you can use as-is, or as a basis for further development. The screen wizard eliminates many of the mechanical steps of screen design, thereby increasing productivity.
 New
New Screen or
  .
.
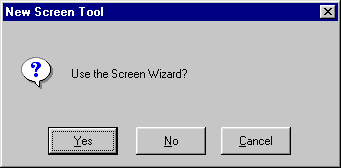
The New Screen Tool dialog opens.
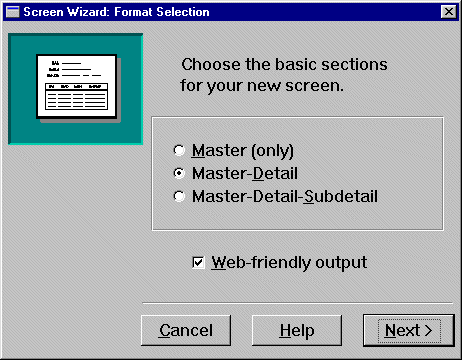
The Format Selection dialog opens.
More About Screen Wizard Formats
When you use the screen wizard you can choose to create a Master only, Master-Detail, or Master-Detail-Subdetail screen. If you choose the Web-Friendly Output check box, the screen wizard creates a client screen that uses the appropriate layout and push button controls for a web application.
For the purpose of this module, the screen is not being designed for a Web application.
More About Web-friendly Output
The Web-friendly Output option enforces certain web-specific restrictions on the widgets and layout used in the final screen to make it usable in the Internet/Browser interface.
The First Master dialog opens.
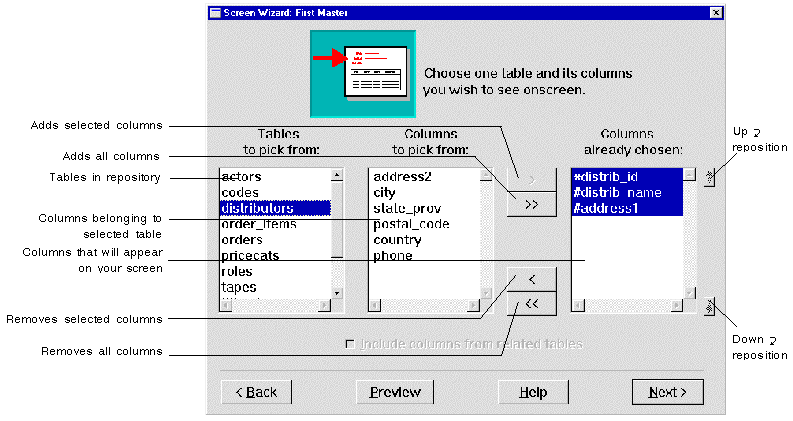
The list that displays contains repository entries that represent the database tables you imported from the vidsales database.
Specify the primary table for the screen's master section by selecting from the list of tables in the open repository.
The columns belonging to the distributors table are displayed. The primary key (indicated with an asterisk), distrib_id, is automatically included as one of the columns that will be on the completed screens. The columns indicated with a number sign (#) must have values when you insert rows into the database.
More About Primary Keys
A primary key is the column, or combination of columns, that uniquely identifies each row in a database table. If the first table you select in a section lacks a primary key definition, the Primary Key Selection dialog opens where you can identify a primary key for the table. These custom-defined primary keys are indicated with a plus (+) sign in the list of tables that ultimately appear on your wizard-generated screen.
 .
.
All columns are added to the list of columns to display on the finished screen.
Note: You can click+drag or Shift+click to select contiguous items or use Ctrl+click to select non-contiguous items.
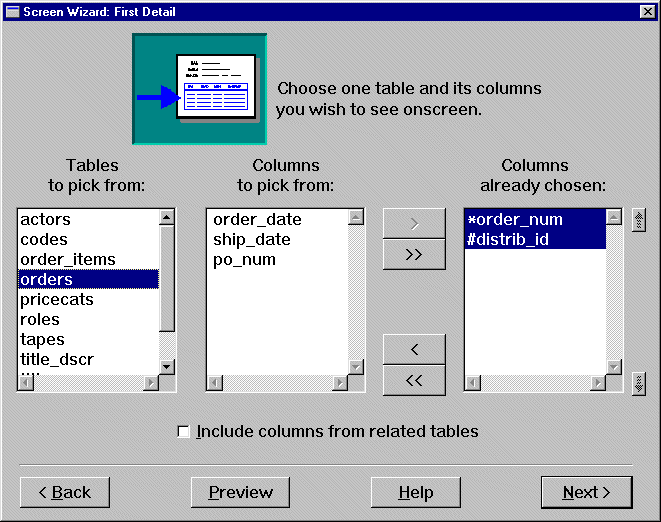
The First Detail dialog opens.
Choose from the list of remaining tables to specify the columns that you want in the screen's detail section. This screen should display all orders for a given distributor.
 .
.
All columns in the orders table are added to the list of columns to include on the screen.
The finished screen will join the orders table to the distributors table via the distrib_id column (the foreign key). This allows the screen to display all orders associated with a given distributor.
More About Links
Links are widgets that are automatically created when you import database tables. They are visible in the editor and hidden at runtime. The link is used by the transaction manager to describe relationships between parent and child tables. In the editor, the link appears like a label widget, with the name of the parent table and child table in the format parent+child.
The screen wizard expects a link widget to join the first master and first detail tables. The link specifies how the two tables are connected through a list that matches columns in the first master to columns in the first detail. If you select a first detail table that lacks a link to the first master table on your screen, the screen wizard lets you define the link on the Master Detail Link dialog.
The Layout Selection dialog opens. The master table has a single-row layout and the detail section specifies a multi-row grid display. Use the default layout.
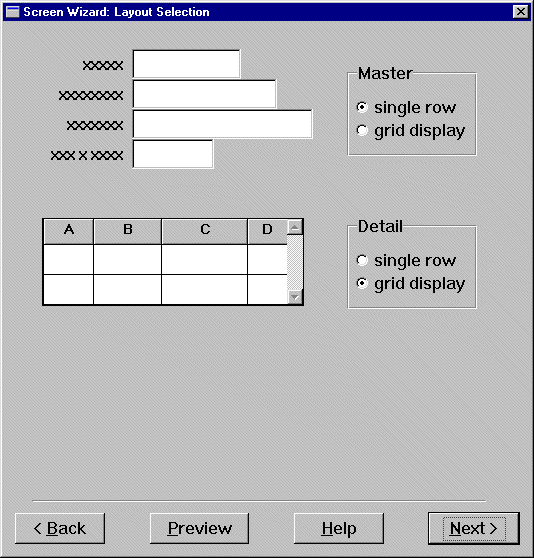
More About Screen Wizard Layout Options
You can choose the type of layout that serves the screen's immediate requirements. For each section, choose one of these layout options:
The Application Model Selection dialog box opens.
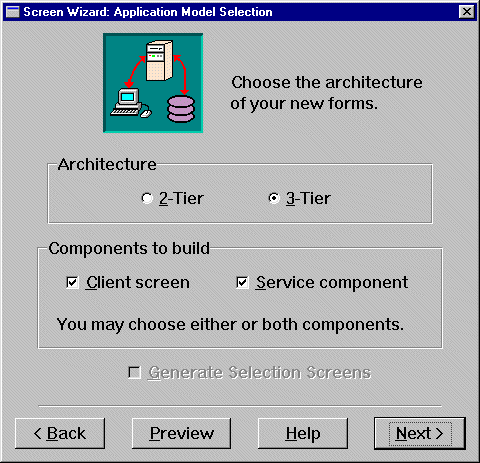
Since you created a simple master-detail screen with no additional tables included, the option to generate selection screens is not available (you'll do this in Lesson 15).
Select the architecture, two- or three-tier, and specify the screens that you want the screen wizard to generate: client screen, service component, selection screens (if applicable) and corresponding selection service components.
More About Two- and Three-tier Architecture
One way your choice of architecture affects your application is in the components that will be included. If you choose two-tier, the Components to Build section of the dialog box becomes inactive. This is because two-tier processing only involves building the client screens, or user interface. Three-tier processing, on the other hand, includes building client screens and their corresponding service components.
Service components are graphical representations of services, and provide a physical means of sending, receiving and processing data between a client screen and a service. A service component looks very much like its corresponding client screen, but is invisible to the user at runtime.
The Service Definition dialog box opens.
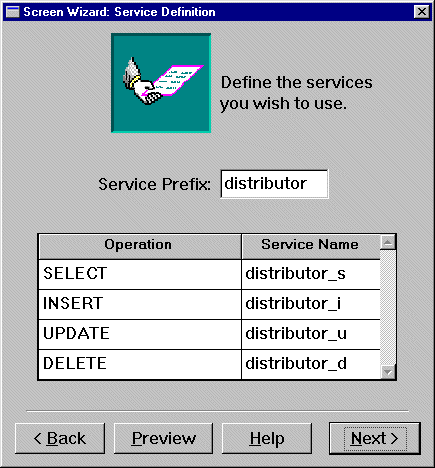
By default, the screen wizard provides service names that your client screen can use to make requests to select, insert, update, and delete database records. It assigns service routine names by using the name (possibly a truncation) of the master table followed by a mnemonic corresponding to an operation. Therefore, the four services for this particular screen, which uses distributors as the master table, are distributor_s for a select operation, distributor_i for an insert operation, distributor_u for an update operation, and distributor_d for a delete operation.
The Style and Finish dialog opens.
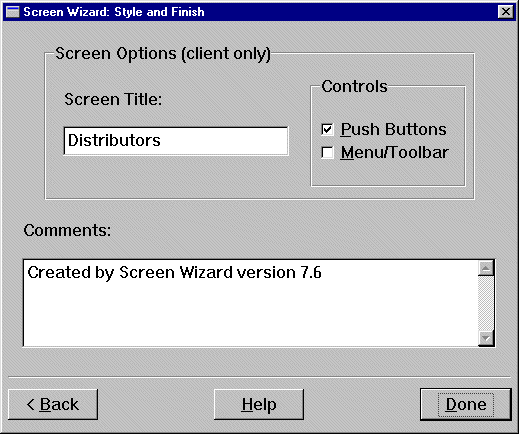
The Style and Finish dialog lets you can customize the screen.
This title displays in the client screen's title bar at runtime (the screen's filename displays in the title bar while in the editor).
Panther displays the finished screen with this prompt:
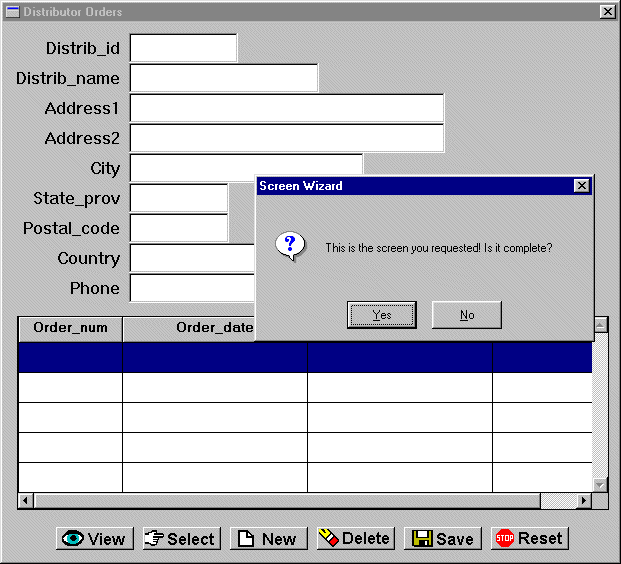
If you choose No, you return to the screen wizard's Style and Finish dialog. You can make further changes there and in previous wizard dialogs.
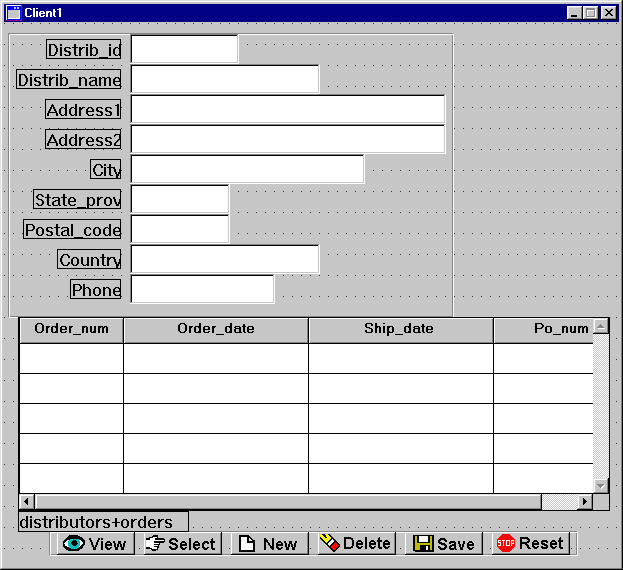
When you confirm that the screen is complete, the screen wizard builds the screen, then returns control to the editor. The screen appears in the editor workspace.
This is a good time to save the screens. You should save the screen in the library client.lib.
 Save or
  .
.
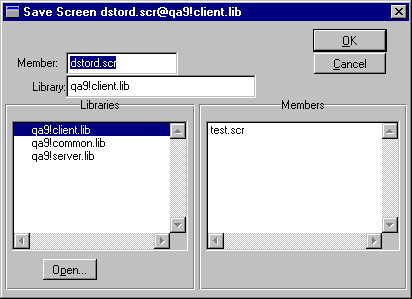
dstord.scr in the Member field.client.lib as the library in which to store the screen and choose OK.
The filename is displayed in the screen's title bar. This is the screen that users of your application will see. It includes all the decorations and controls that define the user interface.
Note: If the file already exists, Panther prompts you to overwrite the existing one. Choose Yes to overwrite.
More About Naming Conventions
However you name screens, JPL modules, and other application components, you should consistently adhere to a naming convention. If you use extensions, apply them to all application components. For example, use *.scr for screens and service components, and *.jpl for library JPL modules.
dstord.scr client screen and bring focus to the service component (Server1).
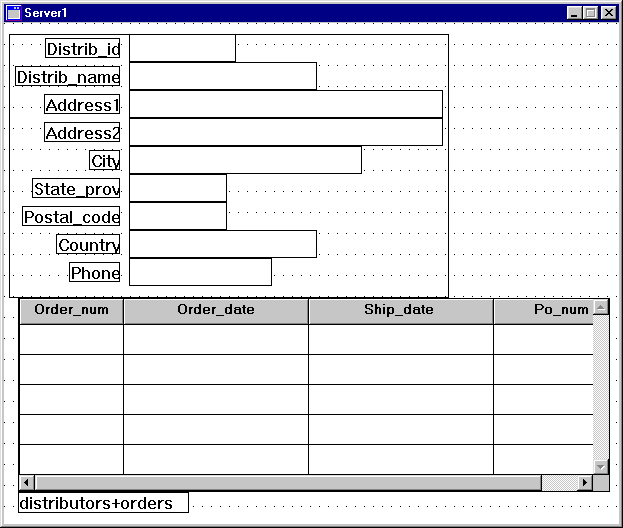
The service component will reside on the server, and therefore, will never be visible to the user. It looks similar to the client screen; however, there are no push buttons, and screen decorations are omitted from service components. However, data entry widgets on the client screen must be identical to those on the service component. That's because the service component must act as a receptacle for data that are ultimately returned to the client and made visible to the user.
 .
.
The Save Screen dialog box opens.
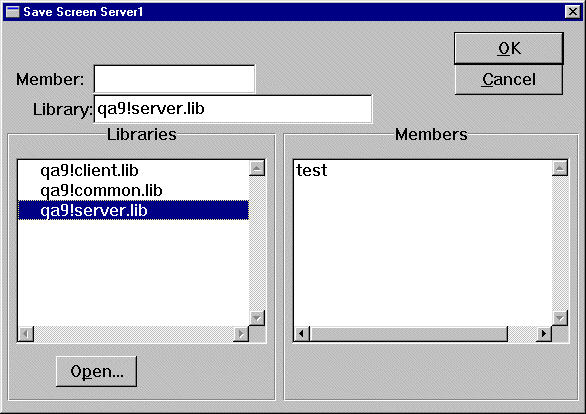
dstord.scr in the Member field as the name of the service component.host!server.lib as the library in which to store the service component and choose OK. Exit.
Exit.In this lesson, you created a master-detail client screen that performs database transactions. To do this, you performed these tasks:
You learned:
What did you learn?


