


 | Getting Started-JetNet |     |
The repository provides a development team with a central storage mechanism and access point for commonly used application objects and database-derived widgets. You can easily modify the contents of the repository and propagate changes throughout an application to client screens and service components alike.
In this lesson you learn how to:
You can apply an input filter to a widget so it conforms to specific data requirements, such as restricting the length of data or allowing only numeric input. Or, in the case of a telephone number, apply an edit mask so users have a visual cue as to what format is expected when entering data.
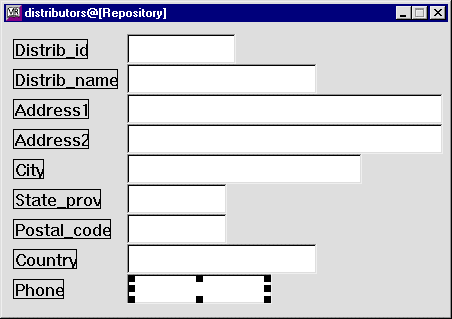
An Edit Mask subproperty appears, where you define the edit mask. In an edit mask, a character that is preceded by a backslash allows a data character to be entered in this position. A character that has no leading backslash is treated as a literal. For example, the string (\9\9\9) specifies to display open and close parentheses around three spaces in which the user can only enter digits, such as (415).
(\9\9\9)\9\9\9-\9\9\9\9.
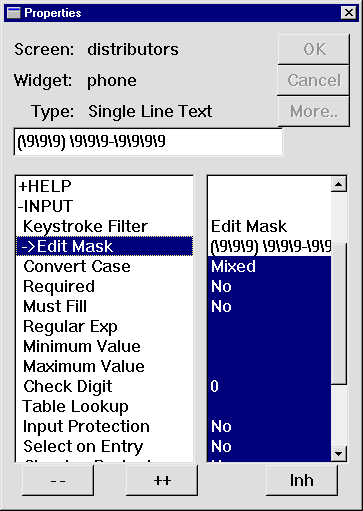
The widget displays ( ) - and accepts only numbers as input.
More About Input Filters
Panther provides built-in input filters to help guide user input and, at the same time, reduce validation requirements. Some input controls include:
You can set properties to enhance specific widgets, for instance, using more descriptive label text or using a different font for data entry widgets. These next few steps show how to set a variety of properties on different widgets. By setting these properties once in the repository, you ensure that they affect the entire application.
Distrib_name label widget on the distributors repository entry.
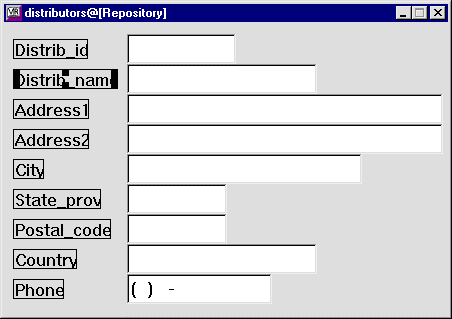
distrib_name.This property controls the label that appears within the grid widget.
Ldistrib_id (Distrib_id).Dynamic label widgets have a broader scope of properties; therefore, they are more easily manipulated programmatically (more on this in the next lesson).
This property lets the widget resize dynamically according to its label content. If the label changes at runtime, the widget size automatically adjusts. This feature is useful for labels that display a name or date whose length is variable.
Changes made to parent widgets in the repository are visible in child widgets on screens and service components that are open in the editor when the repository entry is saved. To propagate changes to child widgets on other screens and service components, open those screens and service components in the editor, or run the utility binherit to propagate changes as a batch process to all the application's screens.
distributors@[Repository] entry has focus, choose File Save.
Save.
Notice that the mask you added to the phone widget in the repository entry appears in the phone grid member on both the client screen and service component. Also, the label next to the query field is updated, as is the column title in the grid widget.
More About Inheritance
When you import a table from a database, the text widgets in the resulting repository entry represent columns in the table. These widgets inherit database-related properties from the database. Like the screen wizard, you can use these widgets to build application screens by copying them from repository entry to screen. The result is an inheritance hierarchy of database to repository to screen (and service component). Also, the next time you use the screen wizard, these changes are implemented.
If changes in the database occur such as length specifications, the changed table can be reimported to the repository. These changes are automatically propagated to all application objects that are copies of those repository objects. Also, any custom attributes that you apply to repository objects, such as color, font specification, and validation, can also be defined and propagated to the screens that inherit from these widgets.
Importation and inheritance simplify application maintenance and facilitate the enforcement of a consistent look and feel to an application's interface.
 Close
Close distributors.
The repository entry closes.
You can modify the behavior established by the screen wizard by writing your own procedure to carry out a particular action. For example, the dstslect.scr client screen acts as a search or query screen for finding distributor records, so you might consider using a different screen for adding new distributors to the database. You can change the way the New button behaves through its control string, so it invokes a procedure that opens another screen for adding new records.
More About Control Strings and Control String Syntax
You can attach actions to widgets, menu items, and specific logical keys through control strings. Control strings are a shorthand notation for doing common tasks:
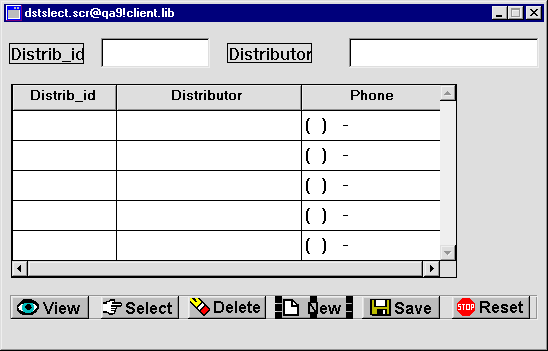
^do_new to ^send_dst_data("NEW").
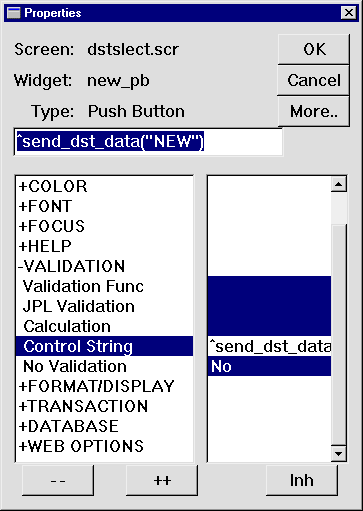
When the user chooses the New button with this control string, Panther invokes the send_dst_data procedure and supplies NEW as an argument. Lesson 13 describes this procedure.
The inheritance link no longer exists for this property, as indicated by the absence of reverse-video display.
More About Flexible Inheritance
You can override inherited values on individual properties. For instance, to enforce application standards, all application widgets can inherit colors and fonts from their parent widgets in the repository, but you can also define a font or validation routine for a child widget that differs from its parent. This breaks the inheritance link for the given property.
To reestablish inheritance for a property, select the property and choose the Inh button on the Properties window.
Create a push button on the client screen that executes a procedure to send data from this screen to client screen dstord.scr, which you created in Module 2.
You can create widgets with either the Create menu or the Create toolbar. The next several steps show how to use the Create toolbar.
A default-sized push button appears at the cursor position.
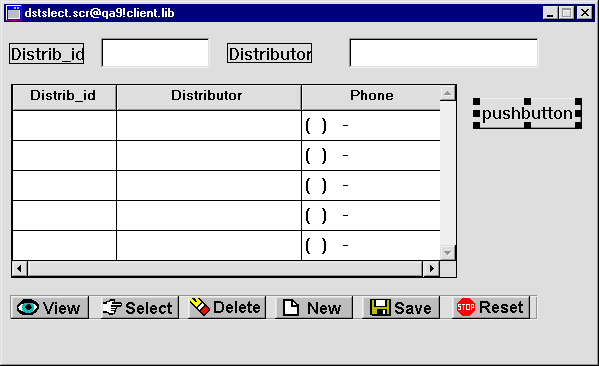
order_pb.The button now has this label:

A push button defined as the Default button can be activated at runtime by pressing Enter.
 Size
Size Adjust Both.
The Orders button resizes to the same height and width as the dominant selection.
Attach a control string to the push button so it performs the desired action. At run time, the control string executes when the Order button is clicked—in this case, it calls the send_dst_data procedure and is supplied an argument of SELECT.
^send_dst_data("SELECT"). Save.
Save.
The dstslect.scr screen is saved to the remote client.lib library.
You can copy commonly used objects from a screen to a repository, thereby providing the entire development team with application objects and code and facilitating consistent behavior and appearance across the application. In this case, you copy the Orders push button from the client screen to a repository entry. An inheritance link is automatically established between the client object and its parent in the repository.
 New
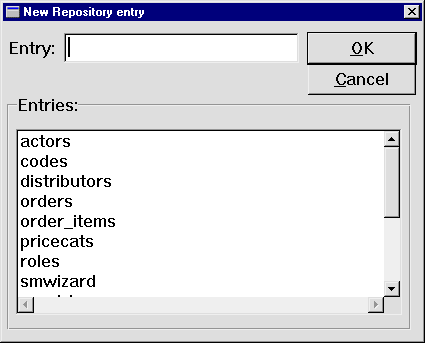
New Repository Entry.
The New Repository Entry dialog box opens.
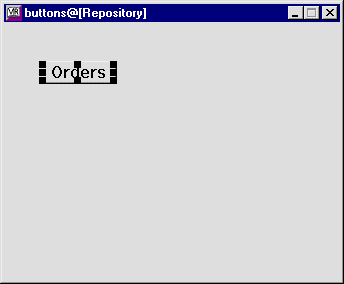
An empty screen with the name buttons@[Repository] opens in the workspace.
order_pb push button on the client screen dstslect.scr and drag it to the buttons repository entry.
dstslect.scr and select its order_pb push button again. Check the Inherit From property (under Identity). It is now set to inherit its property values from the buttons repository entry (buttons!order_pb). Save.
Save.
The buttons repository screen is saved to the open repository.
 Close.
You applied global and local changes to specific widgets, performing these tasks:
You learned:
What did you learn?


