


 | Getting Started-JetNet |     |
An additional client screen and its corresponding service component are provided in tutorial.lib. They use a grid format to display a list of distributors. In this lesson, you enhance the screen and service component so users can query the database for a specific distributor record through two different search criteria: either a distributor ID number or a partial or full name string. The transaction manager uses user input to generate automatically the appropriate SQL query statement. If a query field is empty, the transaction manager excludes its data from the SQL generation.
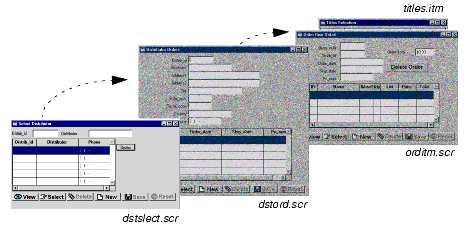
In this lesson you learn how to:
 Library TOC.
The Library TOC opens.
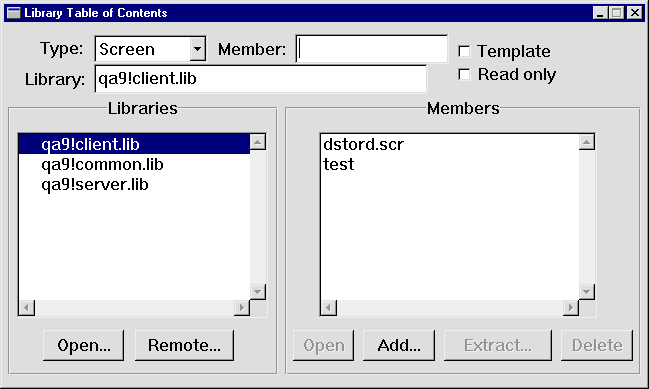
tutorial.lib is not among the list of open libraries:
tutorial.lib from the list of open libraries and lesson10.clt from the list of library members. Choose Open.
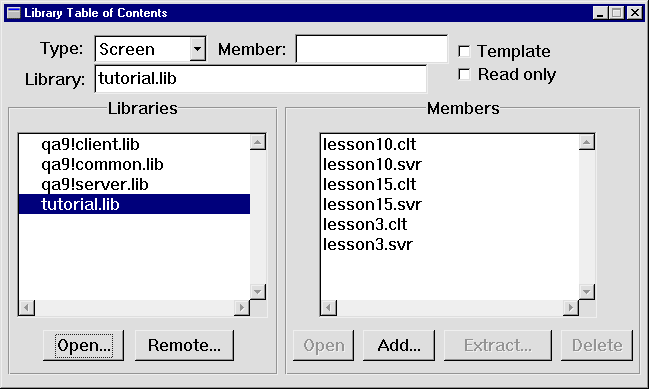
The lesson10.clt screen opens in the editor workspace.
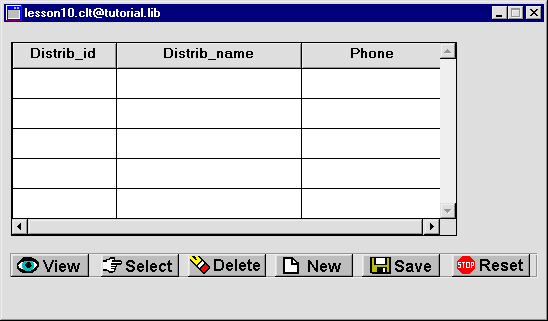
This screen is a master-only screen for the distributors table and uses a grid format. The grid contains three of the table's columns: distrib_id, distrib_name, and distrib_phone.
 Save As
 Library Member. The Save Screen dialog opens.
dstslect.scr in client.lib on the application server.lesson10.svr from the list of library members.
The service component, lesson10.svr, opens in the editor workspace.
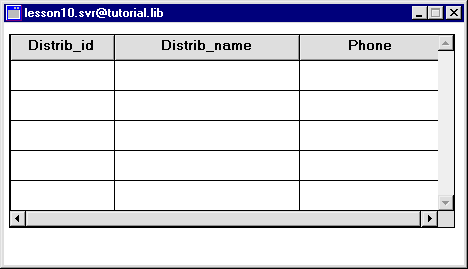
This screen contains the same grid as the client screen.
 Save As
 Library Member and save
 lesson10.svr as dstslect.scr in server.lib on the application server.Since the client screen and service component were created using the screen wizard, the services that will be requested by the client screen were also generated. These values are properties of the client screen's table view. Select the screen's invisible table view widget and determine the names of its Service properties so that you can define those services in the JIF.
More About Table Views
A table view widget is automatically created on a repository screen when you import database objects. Table views store the following types of database information:
Panther's transaction manager uses the information stored in table views (and links which specify the join relationships between multiple table views) to determine what SQL statements should be generated for each transaction command.
The JetNet transaction model uses the service information to determine how to respond to service calls.
In addition, table views provide you with a quick entry point for modifying the default transaction manager behavior.
You can select the table view widget by using either the Widget List or the DB Interactions window in order to gain access to its properties.
dstslect.scr client screen and choose View Widget List.
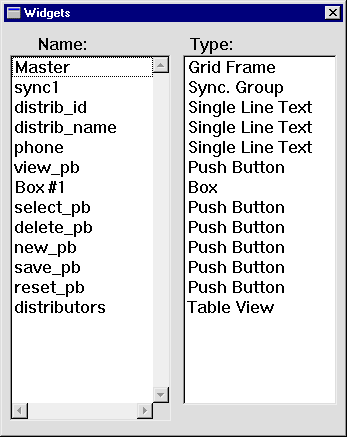
The Widget List opens and lists all the widgets on the current screen: the widget's name, field number or contents is in the middle column and its type in the right column.
More About the Widget List
You can use the Widget List as an alternative way to select widgets. All widgets on the current screen are listed in the Widget List, including invisible widgets, such as selection groups, synchronization groups and table views.
When you select an item from the list, the widget on the screen is also selected. The Properties window displays the properties common to the widgets that are currently selected, or of the screen if no widgets are selected.
You can select multiple contiguous widgets in the list with a click+drag or Shift+click; Ctrl+click to toggle membership in the selection set or to select non-contiguous items.
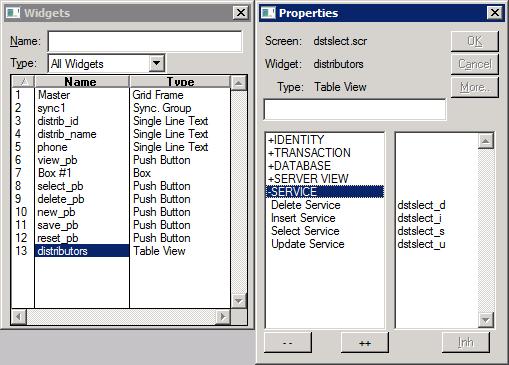
distributors table view widget.
The table view properties are displayed in the Properties window (Table View displays in the Type field).
The Delete Service, Insert Service, Select Service, and Update Service properties use the dstslect prefix for the names of the services used by this screen.
More About Wizard-Generated Service Names
When the screen wizard generates screens for a three-tier model, you will recall that it also creates services that the screen will use. It uses the master table on the client screen to determine the name of the services. Since the client screen, in this case, uses the distributors table as its master table, the services, by default, would have distributor as the prefix. Service names must be unique within the JIF, and since services with this prefix were already defined for a screen you created earlier, different services needed to be specified.
The services used by a screen are specified in the Service properties associated with the client screen's root table view. The screen wizard automatically sets these property values based on input you provide on the screen wizard Service Definition dialog box.
Refer to Chapter 31, "Building a Transaction Manager Screen." of the Developer's Guide for more information on root table views and table view processing.
When you add or change services in the JIF, Panther rereads the JIF, which in turn, causes the application server to readvertise services (assuming the server was configured to do so).
In the case of the tutorial, you did configure the standard server to advertise all services in the JIF. Therefore, when you add services to the JIF, they are made immediately available to your application.
The services in jif.bin, located in the remote common.lib, are displayed in the View Services dialog box.
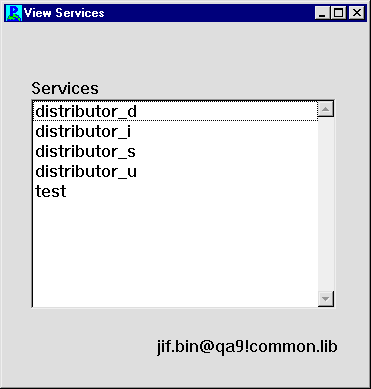
dstslect client screen: dstslect_d, dstslect_i, dstslect_s, and dstslect_u (refer to Lesson 8 for details on creating services). In each case, name the service component dstslect. Save.
Save. Exit to close the JIF editor and return to the editor workspace.
Increase the screen's vertical dimension so you can add other widgets to it.
dstslect.scr client screen in one of the following ways:
Make room for more widgets above the grid widget by moving the grid widget and push buttons down to the screen's lower portion.
 Select All and drag the widgets to the bottom of the screen, leaving space at the top for more widgets.
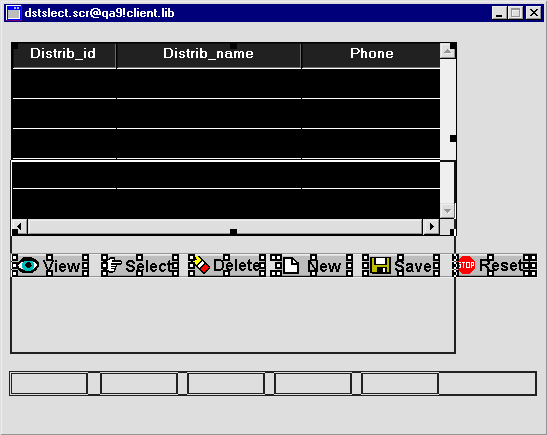
You want to populate the screen with widgets that are associated with a particular database table. You can access these widgets in the repository, just as the screen wizard does.
 Open
Open Repository, and select
 data.dic in the proltut directory. Open
Open Repository Entry.
The Open Repository Entry dialog opens and displays the contents of the data.dic repository.
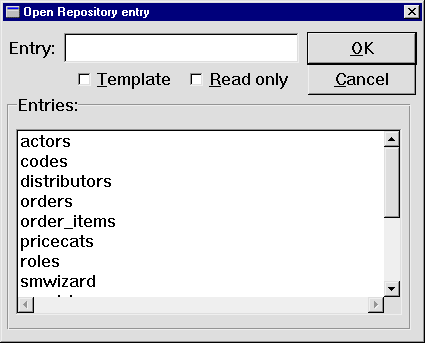
distributors repository entry and choose OK.
The distributors@[Repository] window opens.
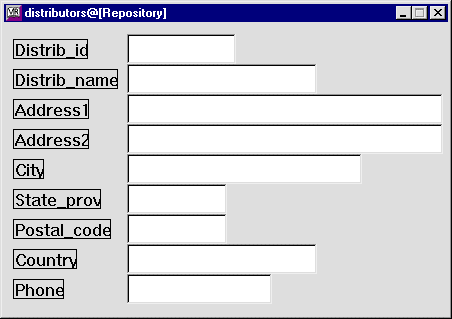
You can use widgets from the repository to serve as query fields on the dstslect.scr screen. When you create a copy of a repository widget, the copy has an inheritance link to its parent in the repository. You can use inheritance to propagate changes from the repository to application screens and service components, as shown in the next lesson.
In the following steps, you copy distrib_id and distrib_name from the repository to the client screen dstslect.scr. The copies inherit their property values from the repository.
distributors repository screen, Shift+click to select the Distrib_id label and its corresponding text widget (distrib_id), and the Distrib_name label and its corresponding text widget (distrib_name).
Selecting multiple widgets creates a selection set, which is useful for defining common property values. The first widget you select is the dominant widget. You can Ctrl+click on another widget in the selection set to make it dominant.
More About Selecting More than One Widget
When more than one widget is selected, the first one you select is considered the dominant selection and is indicated by little solid black squares around its border (square brackets in character mode); all other widgets in the selection set are indicated with hollow boxes (curly braces ({}) in character mode). The position and size of the dominant widget determines how the other widgets in your selection set will align or resize when you use Edit menu or toolbar options.
There are a variety of ways to select multiple widgets:
distributors to the top of the screen dstslect.scr.
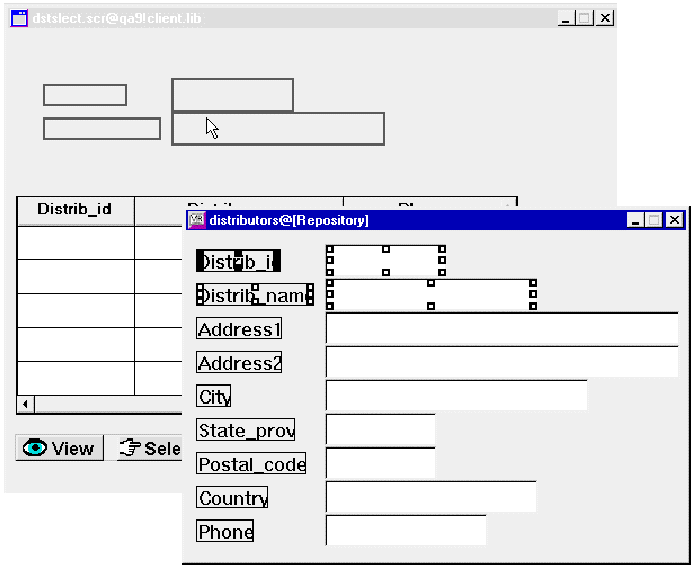
 Close
Close distributors. The repository window closes.
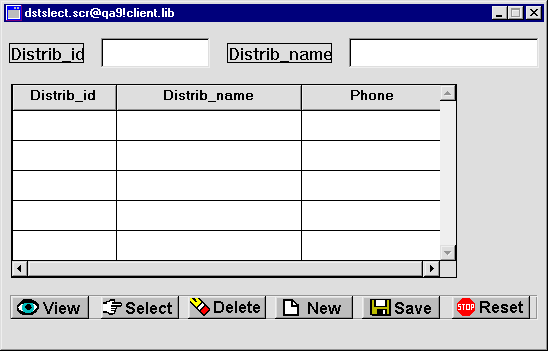
It is good practice to name all data entry widgets, especially if you need to access them programmatically. Names of all widgets on a screen must be unique. Because the dstslect.scr screen already contains widgets named distrib_id and distrib_name, the copies from the repository are left unnamed. You need to assign different names to the copies via their Name property.
dstslect.scr and set each one's Name property (under Identity) as follows:
Use database properties to provide the transaction manager with information it needs: identify the query fields, define the data to retrieve, and ensure that query field data is not used to update the database.
distid_qbe and distname_qbe widgets.

CHANGE DATA. Under CHANGE DATA, set the following property for both widgets:
NEW DATA. Under NEW DATA, set the following property for both widgets:
FETCH DATA. Under FETCH DATA, set these properties for both widgets:
distname_qbe widget.like%.
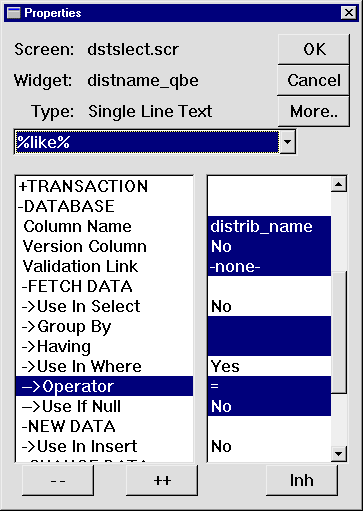
The percent sign (%) sign is a wildcard matching any sequence of zero or more characters. This pattern matching operator tells Panther to search the database for all records that contain the string in the distname_qbe field.
Because this is a three-tier model, the service component associated with the dstslect.scr client screen must include the new query-by-example widgets that you just copied and modified. Simply copy them from the client screen to the service component; the properties you defined are copied with the widgets. Users never see the service component, so you don't have to worry about how it looks.
distid_qbe and distname_qbe on client screen dstslect.scr.dstslect.scr service component.
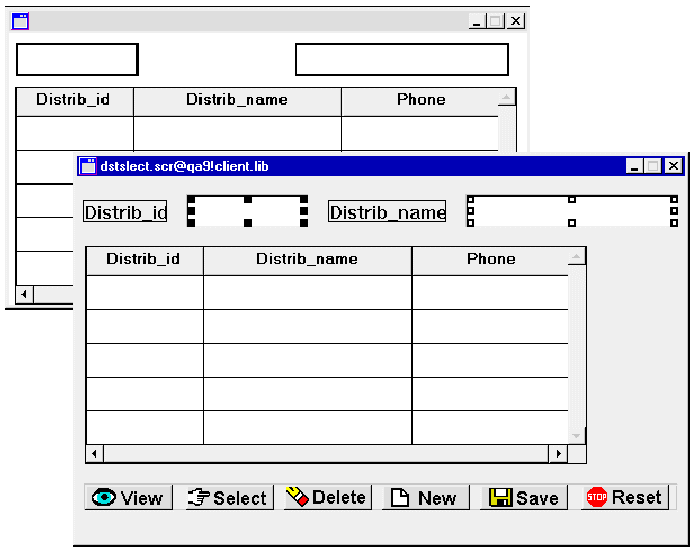
You can try it out!
dstslect.scr client screen. Test Mode or
  .
.Vid in the Distrib_name field. .
.
All distributors that have Vid in their name are listed in the grid.
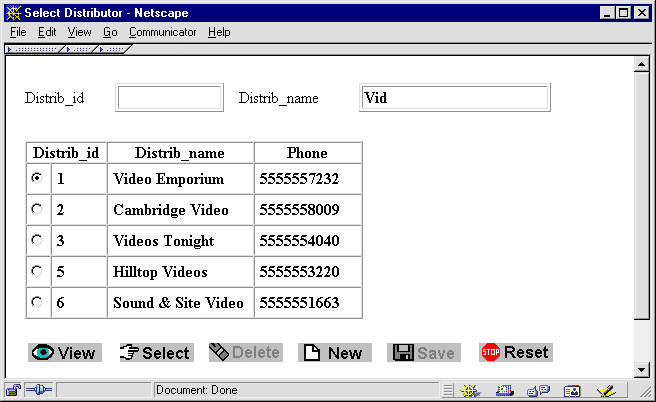
 .
.Distrib_id field and choose  .
.
Panther looks for a record with an exact match—a distrib_id with a value of 6. The record corresponding to ID 6 is displayed in the grid.
You enhanced a screen so users can search for distributors by name or ID. You did this by performing these actions:
You learned:
What did you learn?


