


 | Getting Started-JetNet |     |
You now have a client screen and its corresponding service component. Now you are ready to test the screens to make sure they function appropriately.
In this lesson you learn:
If you closed the dstord.scr client screen, you need to reopen it:
 Open
Open Screen or
  .
.
The Open Screen dialog box opens.
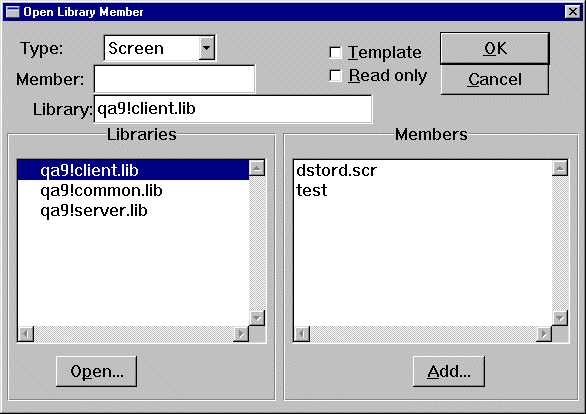
dstord.scr in the client.lib library on the application server.
The client screen opens in the workspace.
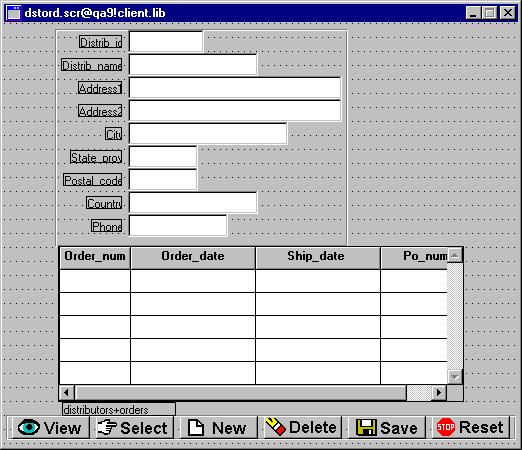
At any time, you can test a screen that you are editing to see how it behaves and appears to an end user.
dstord.scr. Test Mode (press F2) or
  .
.
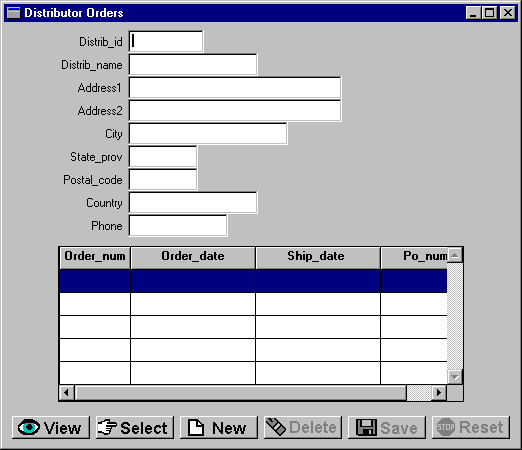
The Distributor Orders screen opens in Test mode. All text fields are enterable.
More About Test Mode
Any changes you make to a screen in the editor can be tested immediately without saving or compiling your edits so you are free to experiment without committing to the changes. However, you must save service components to the server library to test service calls.
Test mode is fully functional. Your client screen appears and behaves as it would in the final application. All screen attributes and logic can be executed and tested (including data validation, database interactions, and 4GL/3GL code). Also, you can test any screen that is called by the current, or active, screen.
Test mode is flexible and powerful. It lets you verify your application design in its component modules as well as test the entire application as a whole.
You can access "real" data with the screen that you just built. The commands associated with the screen's buttons let you access and maintain data in the database.
 .
.
The first record in the distributors table displays.
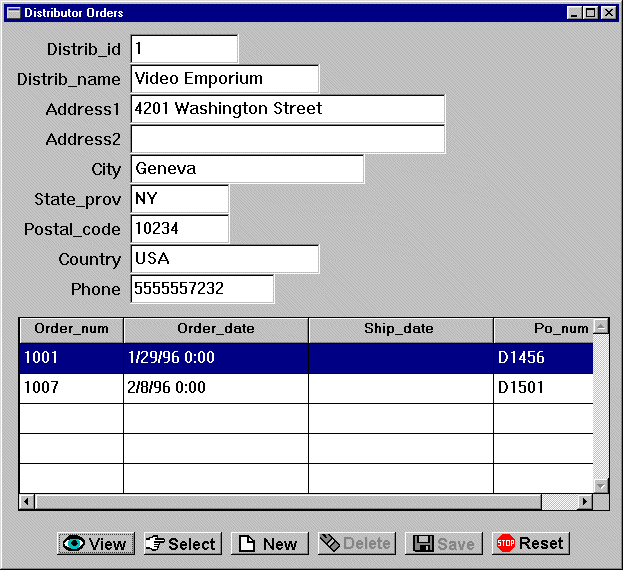
After you press View, the Save and Delete buttons become inactive. The active or inactive state of buttons depends on the last command to execute. In this case, the request to view records invalidates requests to save or delete records.
Panther's transaction manager protects widgets from data entry by the style that it applies to each one. Styles can set a widget's color and protections. In this case, they activate and deactivate (gray out) push buttons without requiring you to write any code. You can change the default styles with the styles editor.
More About the Transaction Manager
You can create complex database query/update screens without having to write any code. That's because the transaction manager "knows" about the interaction between database tables and columns (via information retrieved from the database during the importation process). Given this information, the transaction manager generates the appropriate SQL statements for fetching or updating the database, and keeps track of any data changes. When your application issues the SAVE command, the transaction manager automatically generates SQL commands to update the database to match the data on the screen.
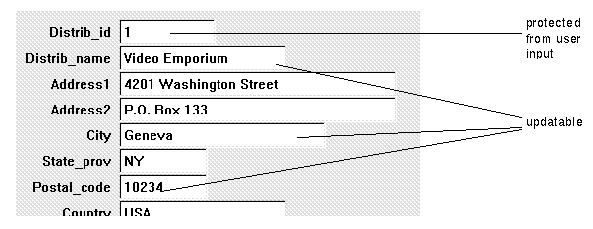
After you select a record for update, you can change its contents. When you choose to update a record, by default Panther protects the primary key fields from data entry. This is a result of Panther's application of a style to each widget.
 .
.
The Select command selects a record for update. The first record in the distributors table displays.
distrib_id field.
Panther prevents changes to distrib_id because it is a primary key in the distributors table; in general, primary key fields in database tables cannot be changed.
To save your changes to the database, you must issue a Save command.
 .
.
Panther calls the update service distributor_u to update the database.
 .
.
All values are cleared from the fields and the Reset command closes the current transaction, so that you can execute another transaction command.
You can also add a new distributor record to the database.
 .
.
After you choose New, only the Save and Reset buttons are active. All other buttons are grayed and unavailable. As before, styles control the appearance of the buttons.
| In this field | Enter the following value |
|---|---|
|
|
7 |
|
|
Video Signs, Inc. |
|
|
1211 |
|
|
01/05/97 0:00 |
|
|
A123 |
 .
.
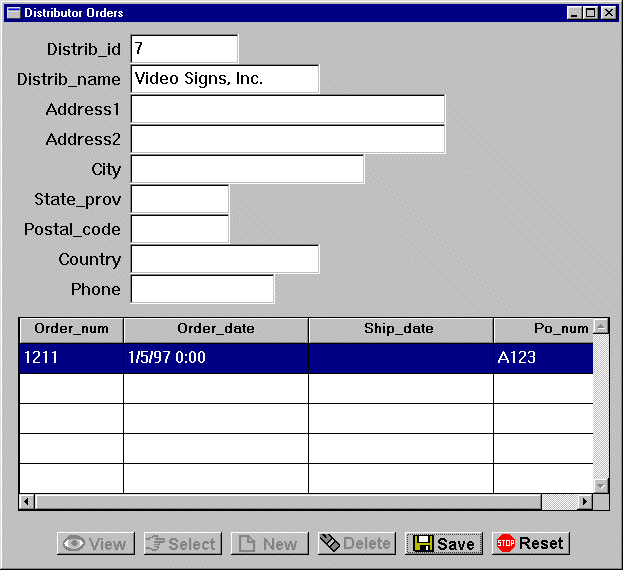
You just updated the server database via the middleware. The local database remains unchanged. Recall that the tutorial server that you configured in Lesson 2 automatically declares a database connection to the vidsales database on the server. So, you don't have to connect every time you start up the editor.
Note:
The JDB model enforces unique primary keys (distrib_id, in this case). Therefore, to add a new record, you must enter an ID that is unique in the database. A message is displayed if the entered ID already exists. In this case, enter a different number. Lesson 13 shows how to programmatically assign new and unique distributor ID numbers.
 .
.More About Wizard-Generated Buttons
The transaction-specific buttons generated by the screen wizard let users update, insert, select, and delete database records. In general, the buttons operate on the master table and any other updatable tables on the screen. However, on some screens, the default behavior might have unwanted results. For instance. the Delete button on the dstord client screen deletes the master and the associated details. Because the order items associated with the detail are not present on the screen, these would be orphaned. Therefore, you might want to remove the Delete button from this type of screen.
The Transaction menu options in test mode offer functionality that is equivalent to the buttons. Some options, particularly Continue, are invalid in a three-tier model.
In this lesson, you tested the Distributor Order screen by performing these tasks:
You learned:
What did you learn?


