


 | Getting Started-2-Tier |     |
This lesson shows you how to set up a Panther web application server and test the server on a web browser.
A Panther web application server is installed on your HTTP server and can work with the following web architectures:
More About Web Application Server Processes
The Web Application Server consists of three executable processes for each application: requester, dispatcher, and jserver.
In this lesson you learn how to:
Most of this lesson assumes that:
Before starting this lesson |  |
Before you begin this lesson, determine the following:
usr/prolifics.
Common names for the program directory include cgi-bin and scripts.
Make a note of its URL:
http://
serverName/programDirectory/websetup
Each Panther web application must have an initialization file, which contains con figuration settings for the application. The Web Setup Manager will walk you through the configuration settings and create or update the initialization file accordingly. The initialization file will have the same name as your application, for example Start the Web Setup Manager
tut_webapp.ini. The Web Setup Manager also copies over the executables and starts the application when it first creates the initialization file.
(UNIX server) http://hostname/ProgramDiectory/websetup
(Windows server) http://hostname/ProgramDirectory/websetup.exe
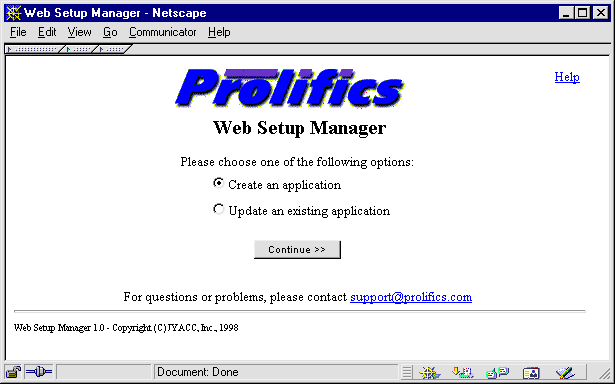
You assign each web application a unique name which is used to name the application's CGI/ISAPI/NSAPI program and the application's initialization (.ini) file. The requester executable that is installed as part of the Panther web application server is named proweb. This requester executable is copied to have the same name as your web application.

tut_webapp.SMBASE to the full path name of your Panther web installation directory. (Refer to "Before starting this lesson.")exe), NSAPI (.nsa), or ISAPI (.isa) executables depending on the protocols used by your HTTP server. (Refer t "Before starting this lesson.")
Note: The program directory is determined by your HTTP server. If you are not sure of this directory, or if you run into permission problems accessing it, check with your system administrator. It should be a directory path, not a browser URL.
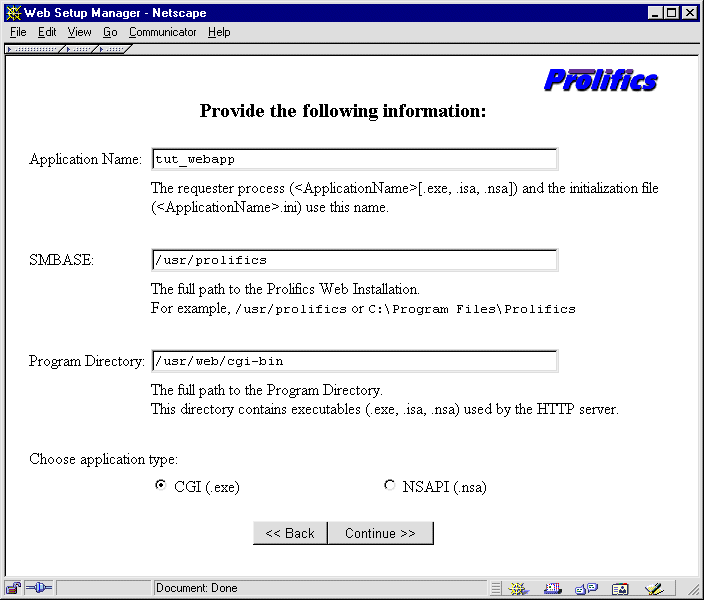
The Web Setup Manager will confirm that both an .ini file and an executable specific to your application (for example, tut_webapp.ini and tut_webapp have been created.
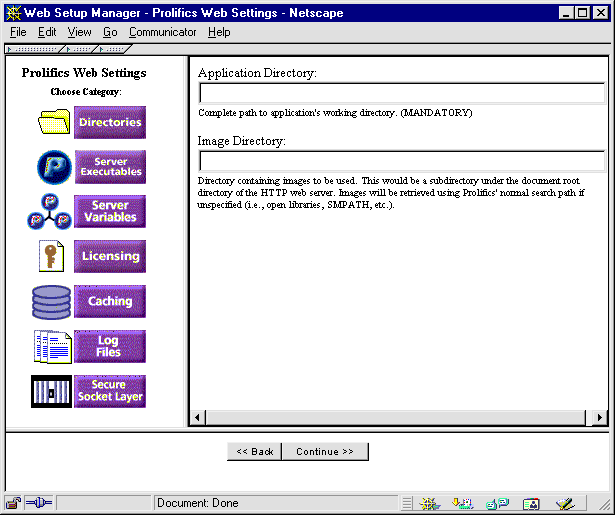
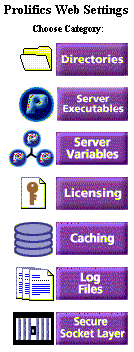
In the left-hand frame, you will see icons for the initialization settings specific to the Panther web application server. When you click on each setting, there will be an accompanying explanation of how to set that variable. Some browsers will display a default; most settings can be left at the default for now. Settings which you need to edit or double-check include:
proltut directory.
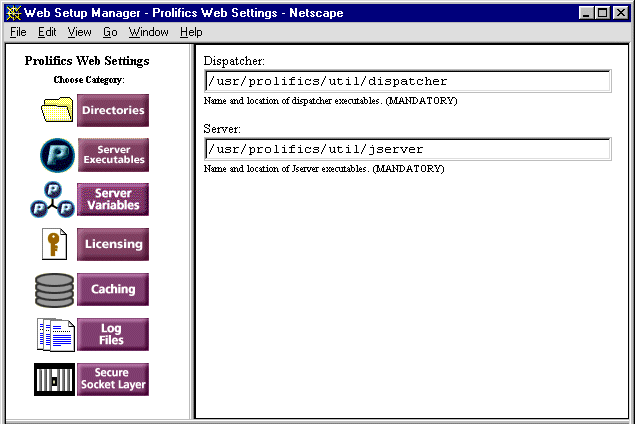
dispatcher executable, generally, the path location to the util directory of the web application server installation.
UNIX WebInstallDirectory/util/dispatcher
Windows WebInstallDirectory\util\dispatcher.exe
UNIX WebInstallDirectory/util/jserver
Windows WebInstallDirectory\util\jserver.exe
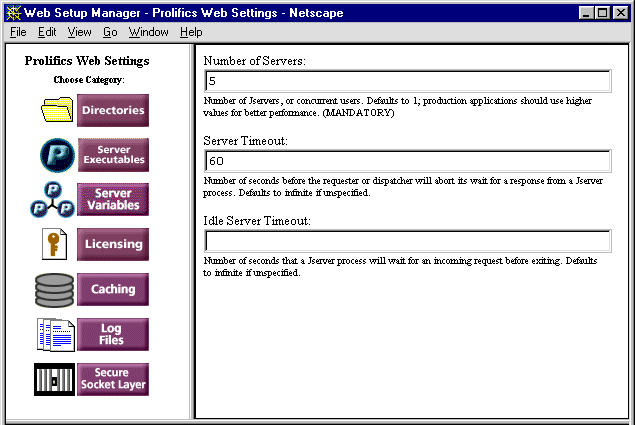
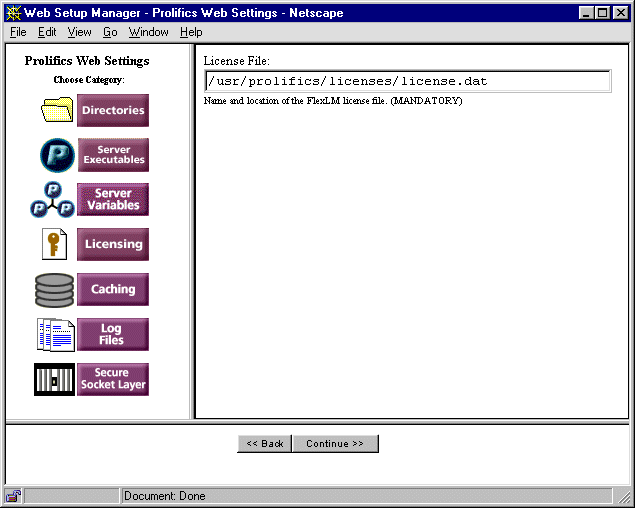
license.dat file.
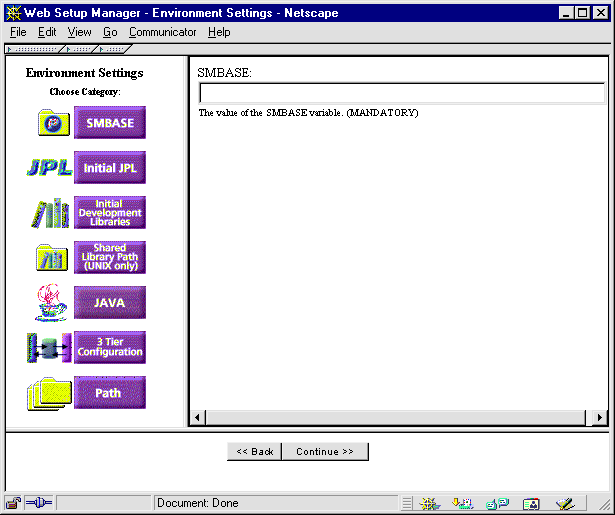
The next section allows you to create and update tut_webapp.ini settings relevant to the general environment. You will see a new set of icons in the left-hand frame. Step through each category, editing or double-checking settings as necessary.

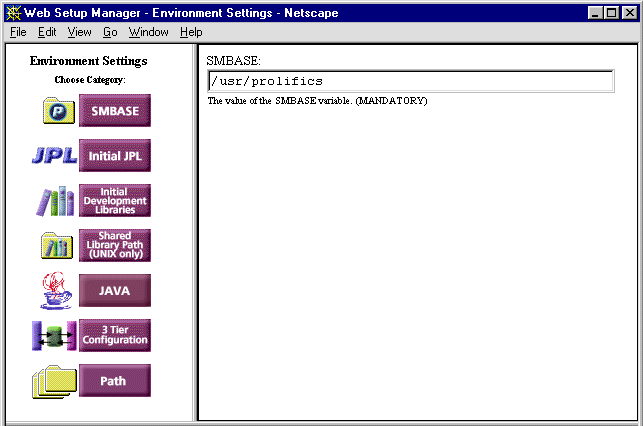
SMBASE, set or check the full path name of the Web Application Server installation directory.
SMINITJPL to initial.jpl.

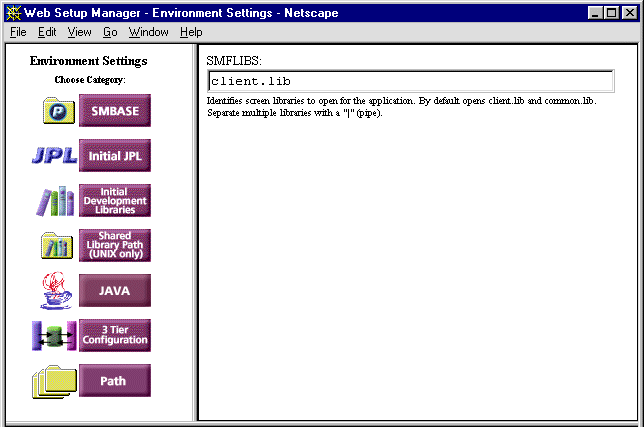
SMFLIBS, set or check client.lib.
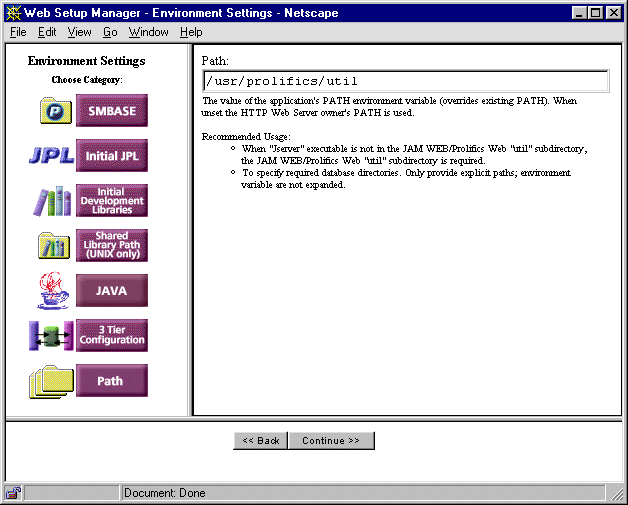
util in the WebInstallDir directory.
The Web Setup Manager has created your web application .ini file and copied the appropriate executables for that application.
UNIX WebInstallDir/util/monitor -stop WebAppname
Windows WebInstallDir\util\monitor -stop WebAppname
When a web application server starts up, it looks in its JPL module—specified by the web initialization file variable SMINITJPL—for the web_startup procedure to handle startup processing. This processing can include opening database connections and creating global variables. The module distributed for this tutorial—in itial.jpl—contains a web_startup procedure that initializes the JDB database engine and establishes a connection to the vidsales database:
proc web_startup
{
	DBMS ENGINE jdb
	DBMS DECLARE tut_conn CONNECTION FOR DATABASE "vidsales"
}
When the server shuts down, it looks in the same module for the web_shutdown procedure to perform cleanup operations such as closing the database connection. The web_shutdown procedure for this tutorial closes the database connection established earlier by web_startup:
proc web_shutdown
{
	DBMS CLOSE_ALL_CONNECTIONS
}
The distributed tutorstd.lib library contains a web initialization file. A copy of this module must be saved in the client library.
 Open
Open Library and select
 tutorstd.lib. Open
Open JPL.
JPL.
The Open JPL Module dialog opens.
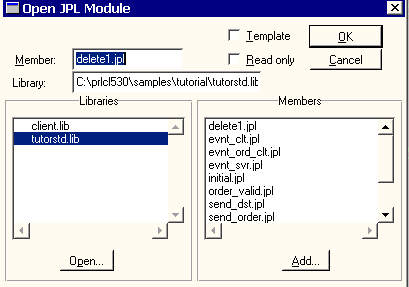
tutorstd.lib from the list of open libraries, and double-click on initial.jpl in the Members list to open it.
The initial.jpl file opens in the JPL Program Text dialog box.

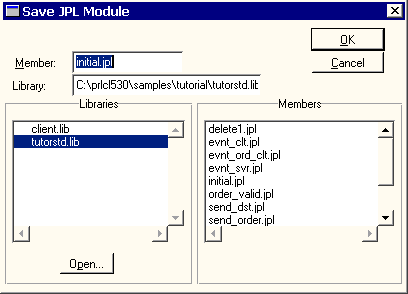
client.lib in the Libraries list, and initial.jpl appears in the Member box. Choose OK.
The initial.jpl file is saved to client.lib.
 Exit to end your editor session.
More About JPL
JPL is a powerful scripting language with a C-like syntax. You can write and edit JPL modules directly in the editor environment, using the JPL editor or your preferred test editor. You can also write JPL procedures directly to a library and call these procedures from objects in your screens.
You'll practice writing and executing JPL in Lesson 9 of this tutorial. For more information on JPL commands and syntax, refer to the Programming Guide.
Make sure the application directory can support the web application server started by the httpd program. Because the user that the httpd program runs under is different from your user login, the web application server is normally not allowed to write to your directory.
Now you can start the web application server and test the client/server connection by opening your client screen in a web browser.
UNIX WebInstallDir/util/monitor -start WebAppname
Windows WebInstallDir\util\monitor -start WebAppname
http://hostname/cgi-bin/WebAppname
At this point, you have started up the Panther web application server. The client screen appears.
If the phrase "No service requested!" is displayed then you have successfully configured the web application server.
If you make any changes to the web initialization (WebAppname.ini) file, you must stop and restart the Panther web application server to have the changes take effect. Stopping the web application server is described in the next section.
After you successfully start the web application server, you can shut it down with the monitor utility; the lessons that immediately follow do not require its usage.
UNIX WebInstallDir/util/monitor -stop WebAppname
Windows WebInstallDir\util\monitor -stop WebAppname
In this lesson, you performed these tasks:
You learned:
What did you learn?


