Chapter 2. Using the JAM Upgrade Utility
To order to help you upgrade a JAM application to a Panther application, the JAM to Panther utility bundles your loose JAM application files into libraries.
You can choose to update an existing JAM library to be your Panther application library or you can create a new application library. After the utility is complete, you can have the library open automatically by setting the SMFLIBS
environment variable.
Running JAM to Panther | |
To run JAM to Panther:
- Windows: On the Start Menu, choose PantherJAM Upgrade Utility.
- UNIX: On the command line, type
j2p
.
- Choose Next.
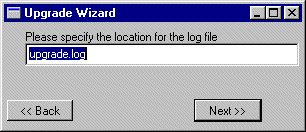
- Specify the path for the log file, and then choose Next. If unspecified, it defaults to
$SMBASE/util
for Windows and the current directory for UNIX.
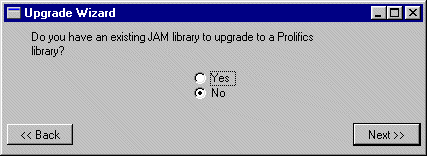
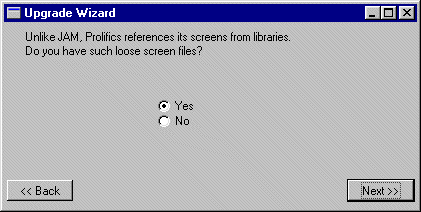
- If you have an existing JAM library, choose Yes. In the next screen, enter the library's location.
- If you did create a library for your JAM application, choose No.
- If you have screens not contained in a library, choose Yes and then Next.
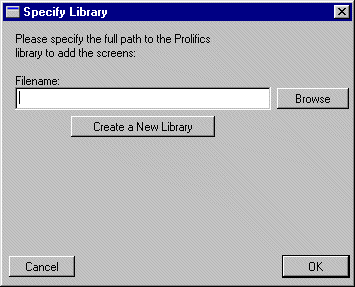
- If you have not already specified a library, you can select a Panther library or create a new library. After entering the information, choose OK.
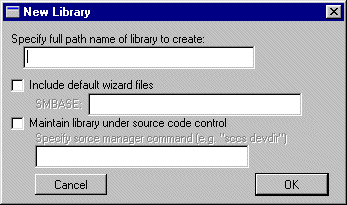
- Enter the path name of the new Panther library. If you want to include wizard files or maintain the library under source code control, specify the additional parameters. Choose OK.
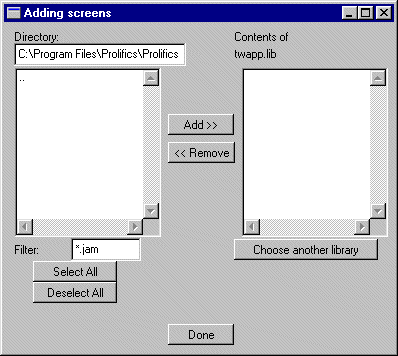
- Select the directory containing the screens. If your screens do not end with a
.jam
extension, change the filter as needed.
- When the screens are displayed on the left, select the screens and choose Add. If you need to add additional screens from another library, select Choose Another Library.
- Choose Done when all screens have been added.
- The JAM Upgrade Utility then prompts you to add the following types of files to your library:
- A repository can also be upgraded to the Panther format.
- After all steps are complete, the final screen displays:
- Choose Done.