Chapter 3 . Building Class Diagrams
Modeling Panther Service Components in Rose |  |
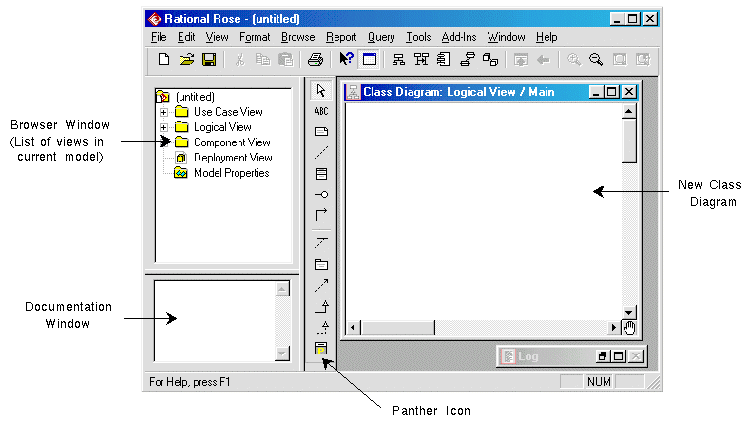
Creating a New Model Diagram
How to Create a New Class Diagram
- Start your Rational Rose product.
- The screen displays a Logical View window with a blank Class Diagram. (A new diagram is also available using File
 New.)
New.) - Check that Rose Panther Link is available by looking for the Panther icon on the toolbar. (For instructions on customizing the toolbar, refer to "How to Verify Your Rose Panther Link Installation.")
Figure 3-1 New class diagram in Rational Rose
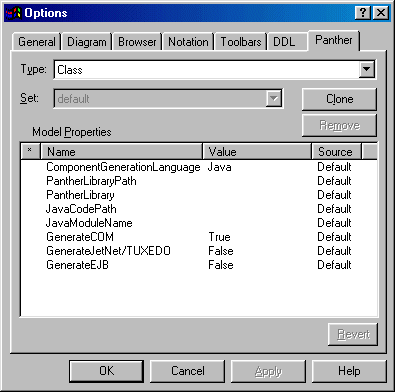
Configuring the Model
After creating a diagram, you must specify the model's options for the Panther classes. All the classes in a model inherit these settings; however, they can be overridden at the class level.
How to Specify Model Settings for Panther Classes
- Choose ToolsOptions.
- On the Options window, select the Panther tab, which displays the current default values.
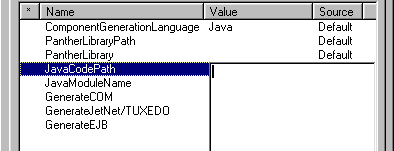
- To change a property setting, click once to select the property. Click a second time to display an option menu or list box where you can enter the new value, as illustrated in the following diagram.
- The following properties must be specified:
- If desired, change the setting for
ComponentGenerationLanguage: Java or JPL. - Specify the component type:
GenerateCOM, GenerateJetNet/TUXEDO, and/or GenerateEJB. - When finished, choose Apply. Any changes from the default values are saved with the model.
Note:
For more information on each setting, refer to "Model/Class Specification."
Creating a Panther Class
Each class you create in a Rose model can generate a Panther service component.
How to Create a Panther Class
Choose one of the following options:
How to Change the Visual Representation of the Panther Class
- Right-click on the class.
- Select OptionStereotype Display.
- Choose between None, Label, Decoration and Icon.
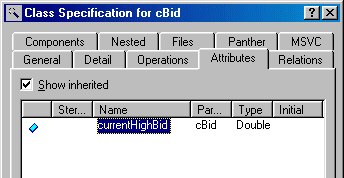
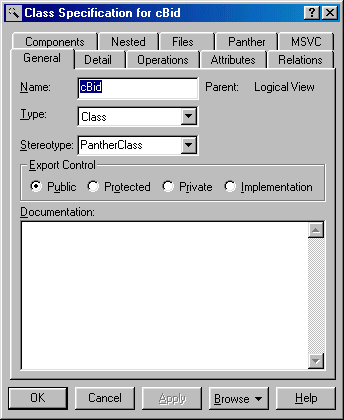
Building a Class Specification
In the Class Specification, you can specify:
How to Define the Class Specification
- Define the Class Specification for a Panther component by performing one of the following options:
- On the Class Specification window, select the Panther tab.
- Modify the values to override the model defaults. Any values that reflect model defaults are gray, whereas changes are black. For information on each setting, refer to "Model/Class Specification."
- When finished, choose Override; then choose Apply.
Specifying Attributes
Attributes of a Rose class correspond to properties of a Panther service component.
How to Add Attributes
- Open the Class Specification window (by double-clicking on the class component).
- Select the Attributes tab.
- Modify Attributes as appropriate (right-click and select Insert to insert an attribute).
How to Add Attribute-specific Properties
- Double-click on the Attribute to launch the Class Attribute Specification window.
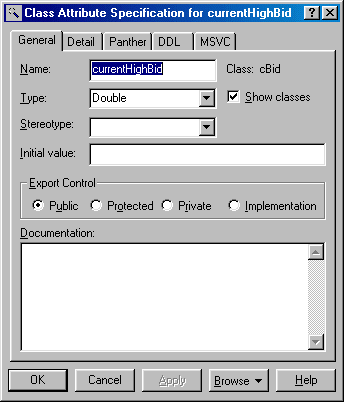
- For an attribute to show up in your Panther service component, you must set the Export Control to Public.
- Modify other Attribute Properties as appropriate.
- Enter comments in the Documentation window. The comments will be available in Panther as service component and field properties. (Optional)
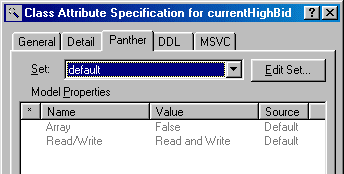
- Under the Panther tab, set any Panther-specific Attribute properties. For information on each setting, refer to "Attribute Specification."
Specifying Operations
Operations of a Rose class correspond to methods of a Panther service component.
How to Add Operations
- Open the Class Specification window (by double-clicking on the class component).
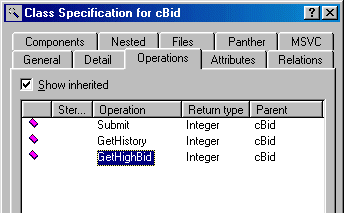
- Select the Operations tab.
- Modify Operations as appropriate (right-click and select Insert to insert an operation).
How to Add Operation-specific Properties
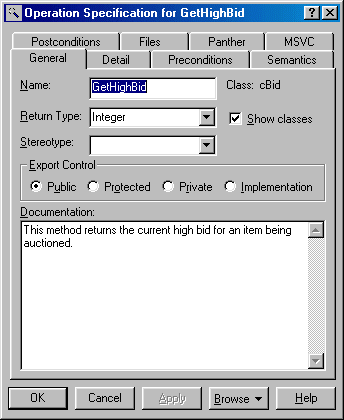
- Double-click on the Operation to launch the Operation Specification window.
- Enter comments in the Documentation window. The comments will be available in Panther as service component and field properties. (Optional)
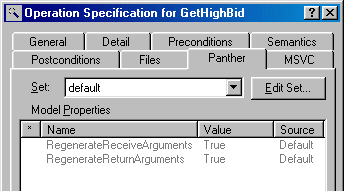
- Under the Panther tab, set any Panther-specific Operation properties. For information on each setting, refer to "Operation Specification."
- If you have an existing Panther component, and you do not want to overwrite any customized
return_args and receive_args statements, set the RegenerateReturnArguments and RegenerateReceiveArguments properties to False.
Adding Arguments
How to Add Arguments to the Operation
- Open the Operation Specification window.
- Select the Detail tab.
- Modify Arguments as appropriate (right-click and select Insert to insert an argument).
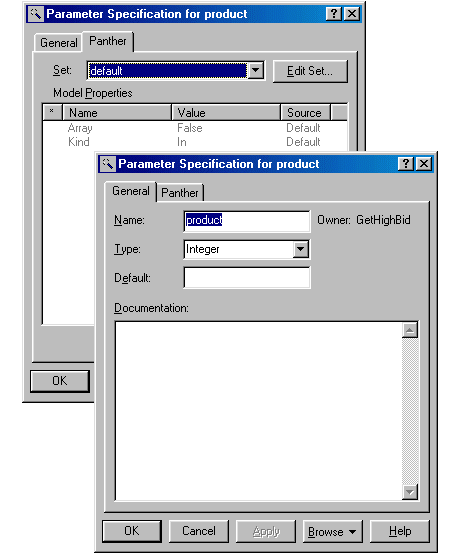
How to Edit Parameter-specific Properties
- Double-click on an Argument to launch the Parameter Specification window.
- In Rose, a variable can be specified as any type. Panther supports only the following types:
Void, String, Integer, Boolean, Double, and Object. Variables specified in Rose as being of a type not recognized by Panther will be represented in Panther as type Object.
- Enter comments in the Documentation window. The comments will be available in Panther as field properties. (Optional)
- Under the Panther tab, set any Panther-specific Argument properties. For information on each setting, refer to "Parameter Specification."
Samples | |
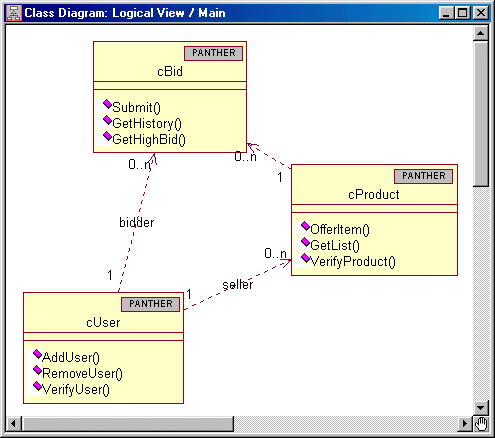
Your Rose Panther Link directory includes a sample, auction.mdl. This model shows three classes that are part of an auction e-commerce application.
Figure 3-2 auction.mdl